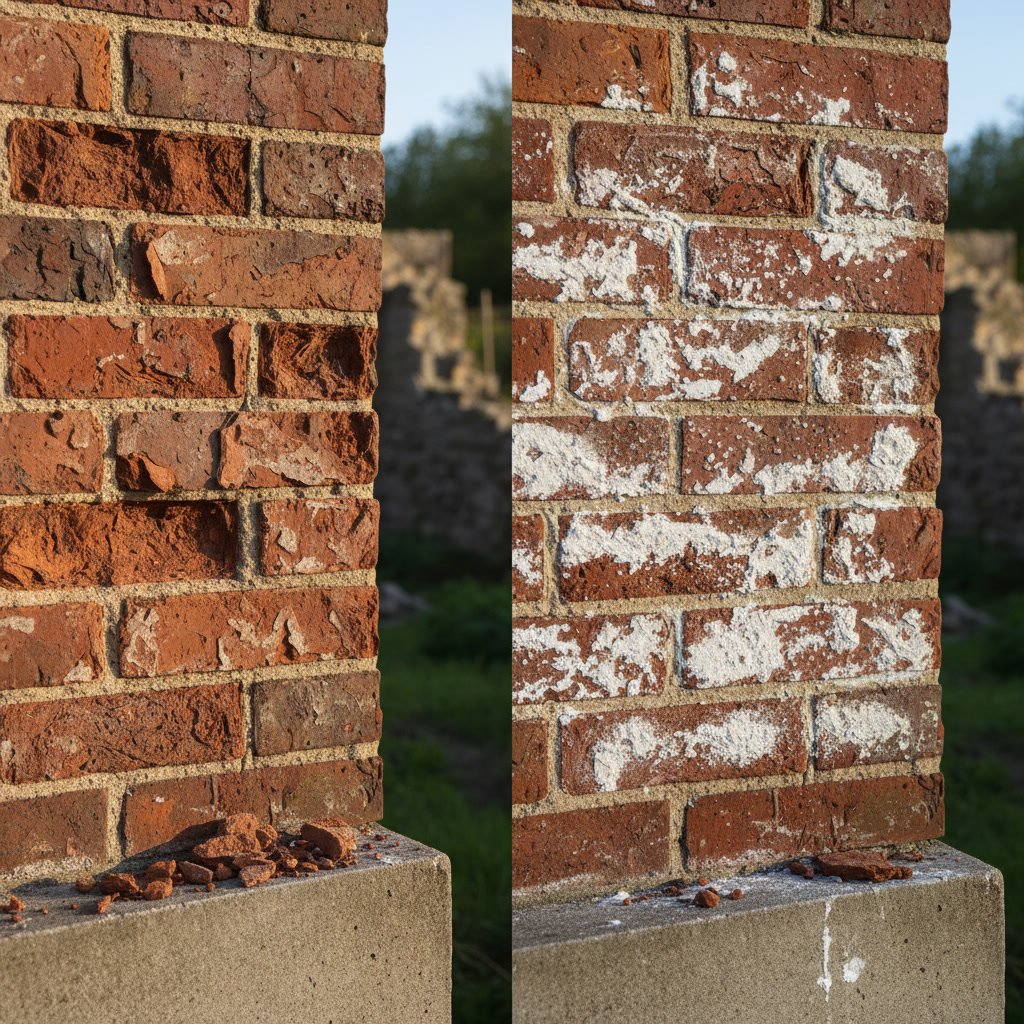
A professional brick restoration process involves detailed assessment, preparation, repair work, cleaning, and protective finishing. Understanding each phase helps property owners know what to expect and how skilled masons restore brick structures to their original strength and appearance. Every project follows a systematic approach that addresses both visible damage and underlying structural issues.
Brick buildings throughout the St. Louis area face unique challenges from freeze-thaw cycles, moisture infiltration, and decades of weathering. When damage appears on exterior walls, chimneys, or foundations, property owners often wonder what actually happens when restoration crews arrive. The work involves much more than simply patching visible cracks.
Why Professional Assessment Matters Before Any Restoration Work Begins
The first phase determines the scope of damage and the best repair approach. A trained mason examines every visible surface, looking for patterns that reveal underlying problems. Cracks near windows might indicate settling issues, while horizontal fractures often signal moisture damage or failed mortar.
During this inspection, masons test mortar hardness, check for loose bricks, and measure the depth of deterioration. They also look for related problems such as damaged window and door caulking that allows water behind the brick facade. This assessment typically takes one to three hours for residential projects, longer for commercial buildings.
The evaluation includes documentation through photos and notes that create a repair roadmap. Masons identify which bricks can be saved, which need replacement, and whether structural reinforcement is necessary. This prevents surprises once work begins and ensures accurate project estimates.
How Preparation and Site Protection Keep Your Property Safe
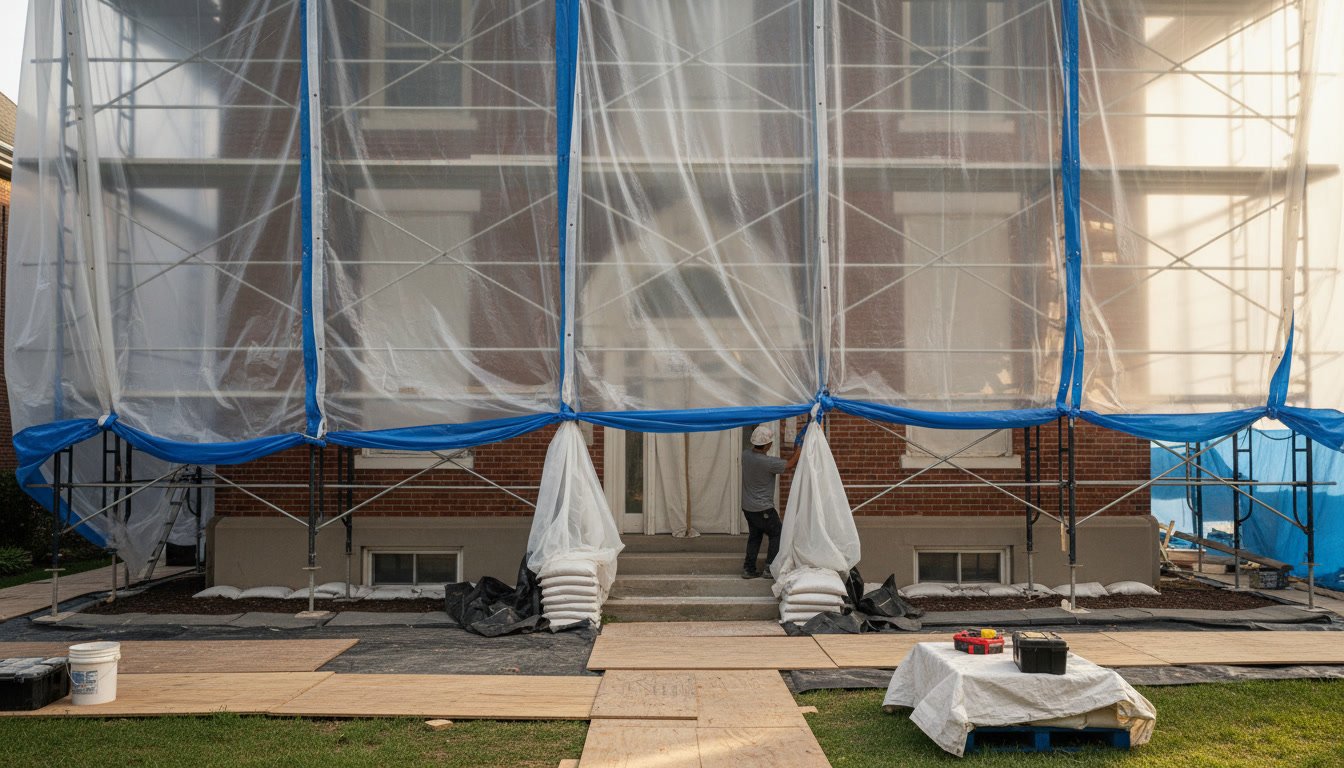
Before any physical restoration starts, crews set up protective barriers and work zones. Tarps cover landscaping, walkways, and adjacent surfaces to prevent mortar stains and debris damage. If the project involves upper floors or chimneys, scaffolding goes up to provide safe, stable access.
Power and water connections are established for cutting tools, mixers, and cleaning equipment. Crews also stage materials near the work area, including replacement bricks that match the existing masonry in size, color, and texture. Finding proper matches can take days or weeks for historic properties.
The preparation phase also includes notifying neighbors if noise or limited access will affect them. Professional crews in areas like Kirkwood and Webster Groves understand that residential projects require clear communication and respectful work practices.
Removing Damaged Mortar and Loose Bricks
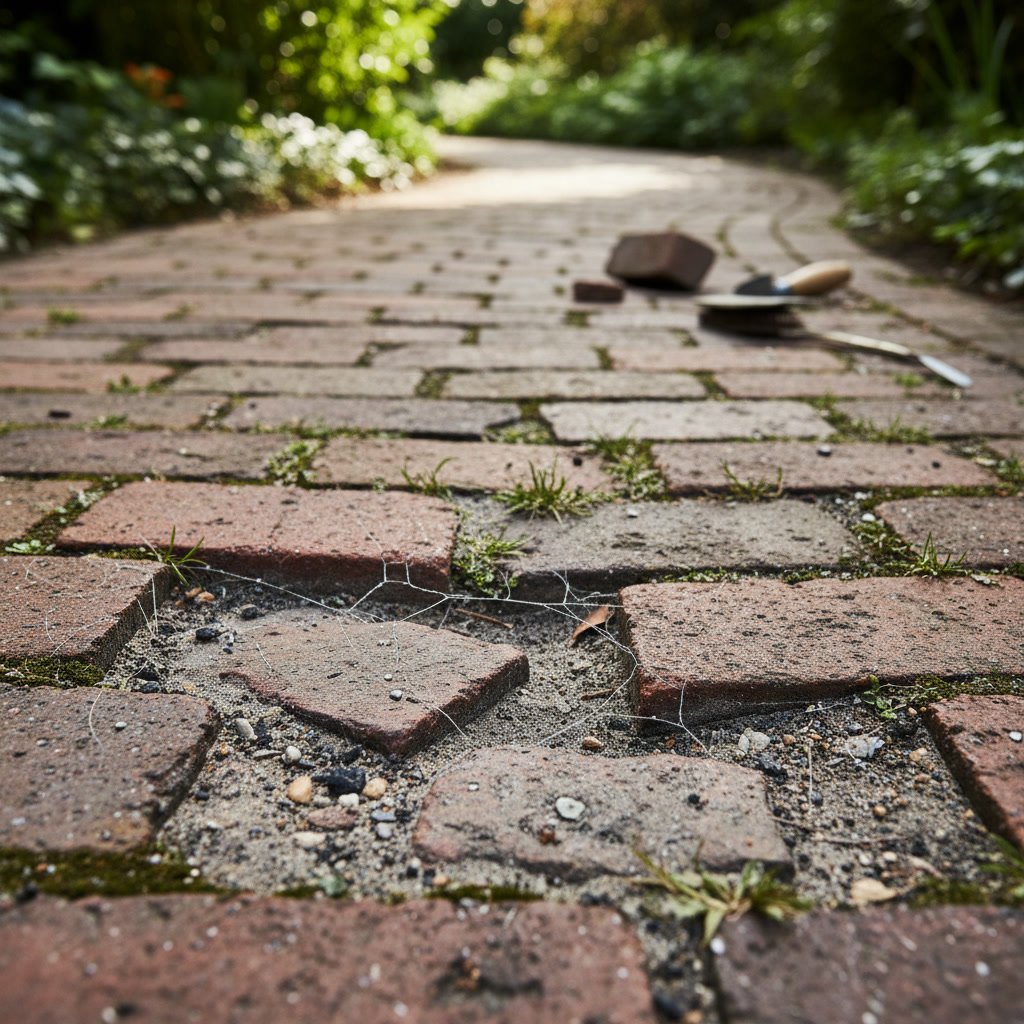
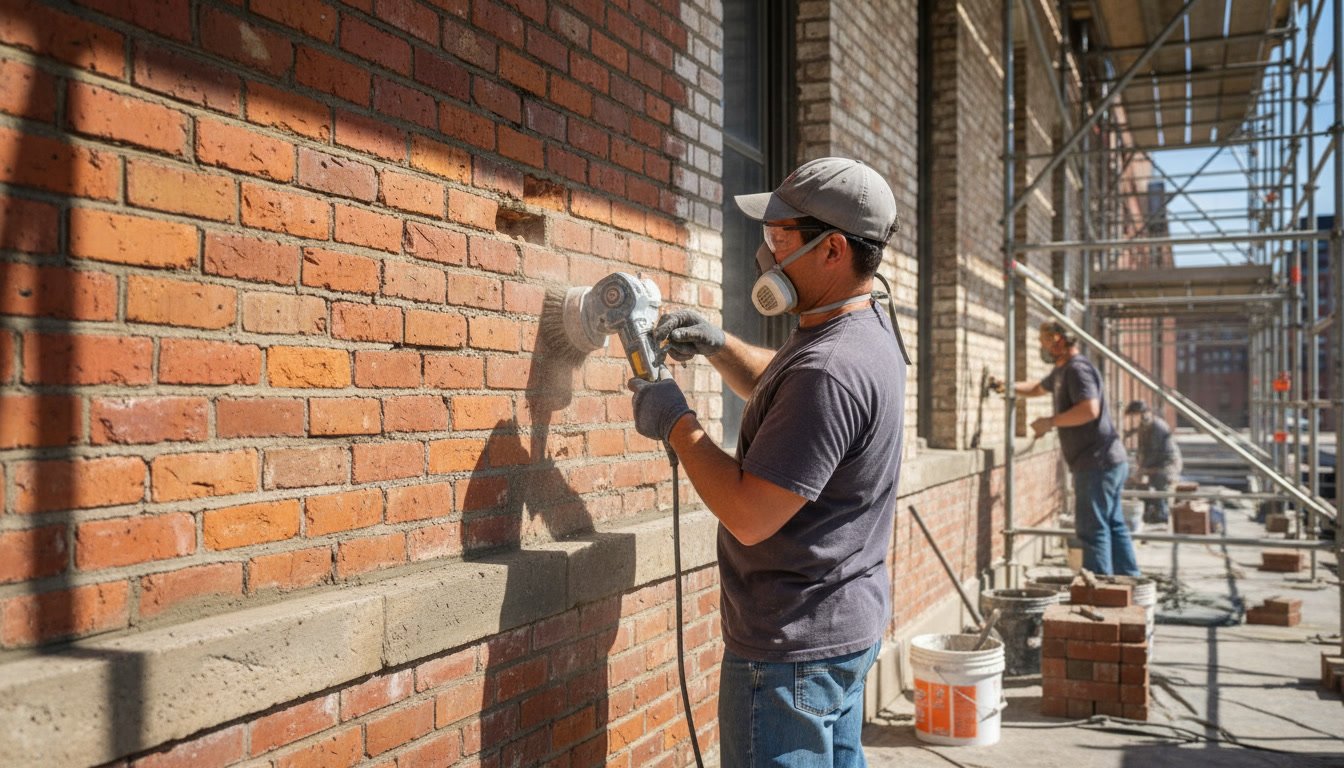
The physical restoration begins with removing failed material. Masons use grinders, chisels, and specialized tools to cut out deteriorated mortar joints to a depth of at least three-quarters of an inch, sometimes deeper if damage extends further. This process, central to tuckpointing work, creates clean joints that accept new mortar.
Loose or damaged bricks come out carefully to avoid disturbing surrounding masonry. Each brick is examined to determine if it can be salvaged, cleaned, and reused, or if replacement is necessary. Cracked bricks that seem stable often hide internal fractures that will fail within months if left in place.
Dust control during removal is critical. Professional crews use water misting and containment strategies to minimize airborne particles. The removal phase generates significant debris, which is collected in dumpsters or bins positioned for easy access without blocking driveways or walkways.
Addressing Hidden Structural Issues in Affton and Surrounding Areas
Once damaged material is removed, underlying problems often become visible. Water stains on interior brick surfaces indicate moisture intrusion that must be corrected before new mortar goes in. Missing weep holes, failed flashing, or clogged drainage paths all require attention during restoration.
Structural issues such as wall bulging or foundation settlement need remediation before cosmetic repairs proceed. In some cases, steel reinforcement or wall ties must be installed to prevent future movement. These discoveries can extend project timelines but prevent recurring damage.
Masons also check for biological growth, efflorescence, and salt deposits that signal ongoing moisture problems. Without addressing these root causes, even perfect restoration work will fail within a few years. This diagnostic work separates skilled restoration from simple patching.
Matching Historic Mortar Composition and Color
Modern Portland cement mortar is far harder than the lime-based mortars used in buildings constructed before 1930. Using the wrong mortar type causes brick damage because the mortar becomes stronger than the brick itself, forcing deterioration into the brick rather than the sacrificial joint.
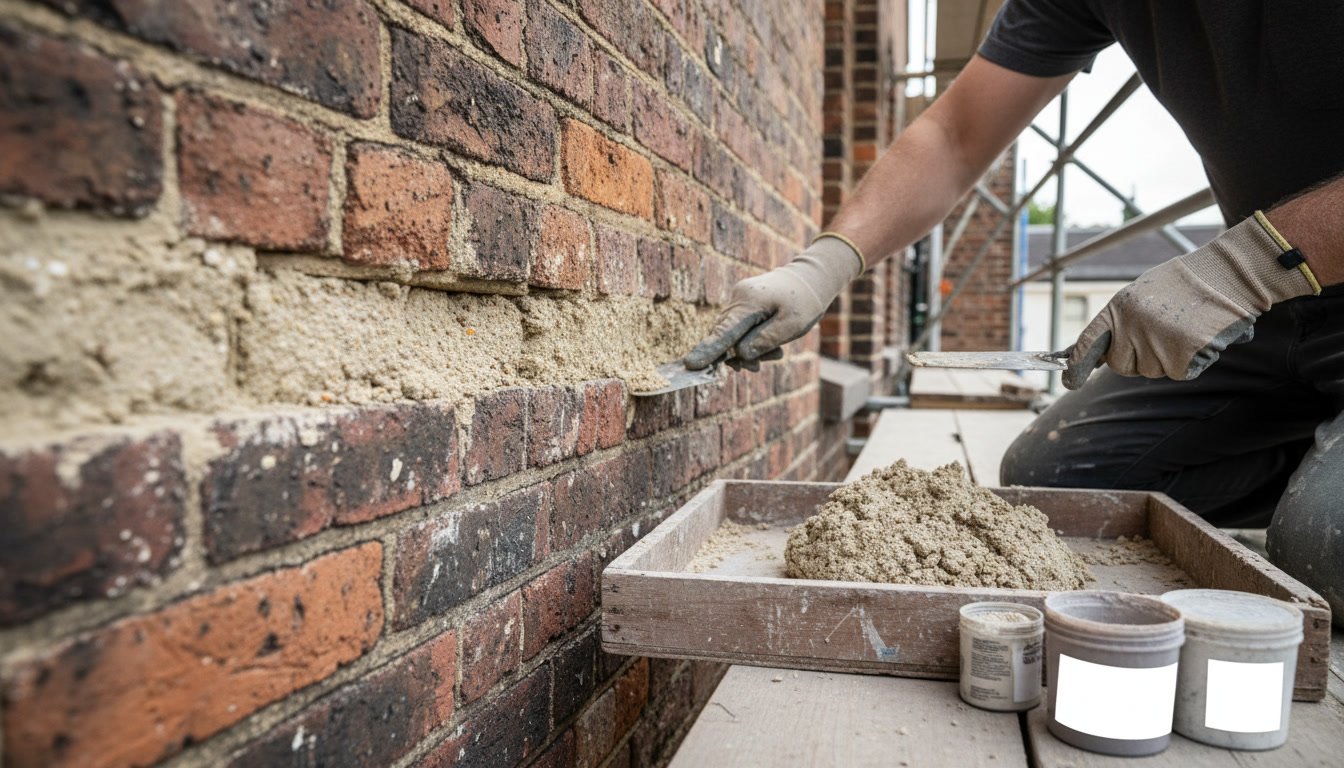
Professional masons analyze existing mortar samples to determine the correct lime-to-cement ratio, sand type, and pigments needed for an accurate match. They mix test batches, let them cure, and compare them against the original under different lighting conditions. Color matching requires both technical knowledge and experienced judgment.
The mortar used in restoration work should always be slightly softer than the brick. This allows the mortar to absorb stress and shed water while protecting the more valuable brick units. Getting this balance right prevents the problems described in our guide on signs your brick exterior needs restoration.
Installing New Mortar and Replacement Bricks
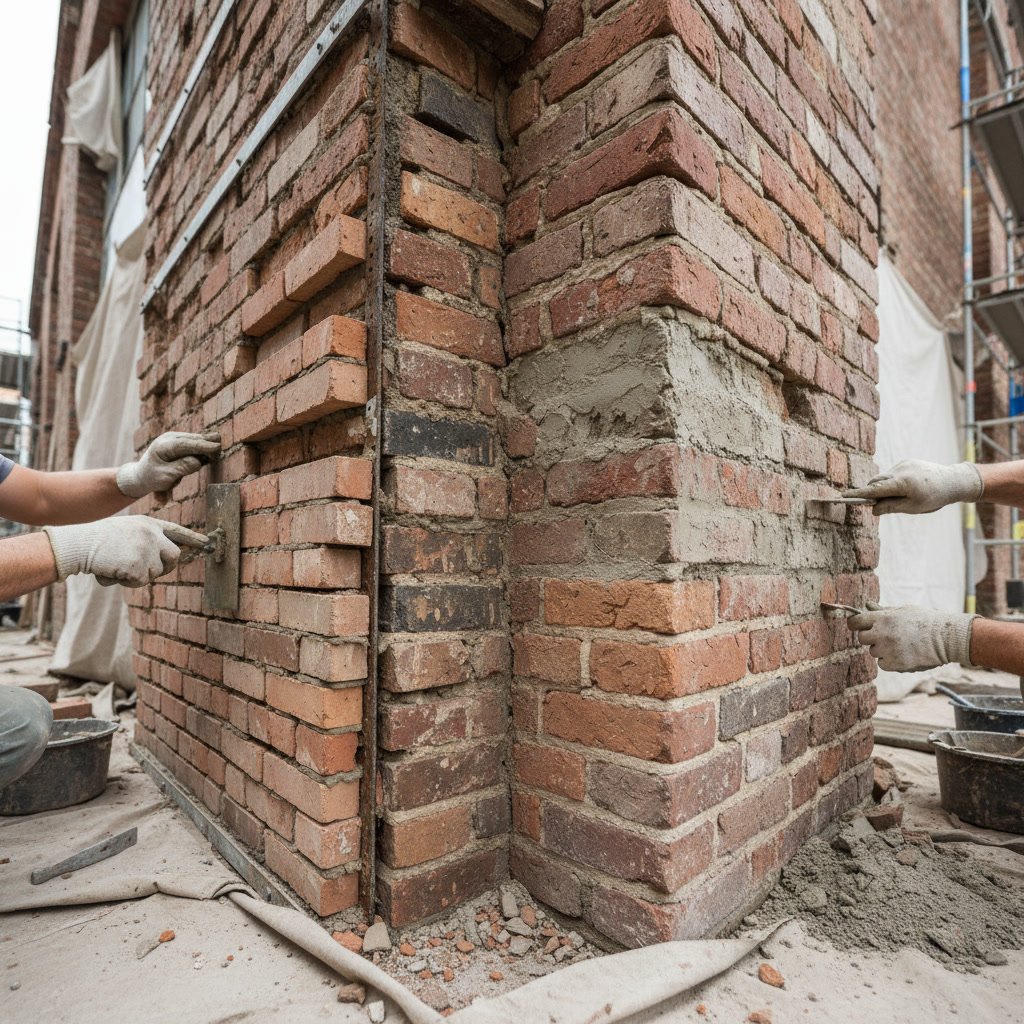
With clean joints and resolved structural issues, new mortar installation begins. Masons dampen the cleaned joints to prevent the old brick from absorbing moisture from the fresh mortar too quickly, which would weaken the bond. They pack mortar firmly into joints using specialized tools, ensuring no voids remain.
The mortar must be tooled at the right moment, after it firms slightly but before it fully hardens. Timing varies with temperature and humidity. Tooling compresses the mortar surface, creating a weather-resistant seal and matching the profile of surrounding joints.
Replacement bricks are set with full mortar beds on all sides. Each brick is tapped into position, leveled, and aligned with surrounding courses. The goal is invisible repairs where new work blends seamlessly with original construction. Skilled masons can match a hundred-year-old wall so well that even close inspection reveals nothing.
Step-by-Step Curing and Protection Timeline
Fresh mortar requires proper curing to achieve full strength and weather resistance. The timeline unfolds in specific phases:
- First 24 hours: Mortar sets but remains vulnerable to rain, freezing, and disturbance. Crews cover fresh work with tarps if weather threatens.
- Days 2-7: Mortar gains strength rapidly. Light misting in hot weather prevents too-rapid drying that causes cracking.
- Days 8-28: Full cure continues as chemical reactions within the mortar reach completion. Strength increases throughout this period.
- After 28 days: Mortar reaches design strength and is ready for sealing or weatherproofing treatments if specified.
Temperature plays a critical role. Work stops when temperatures drop below 40 degrees Fahrenheit because mortar will not cure properly in cold conditions. Summer heat above 90 degrees also requires special precautions to prevent flash setting.
Cleaning Without Damaging Restored Surfaces
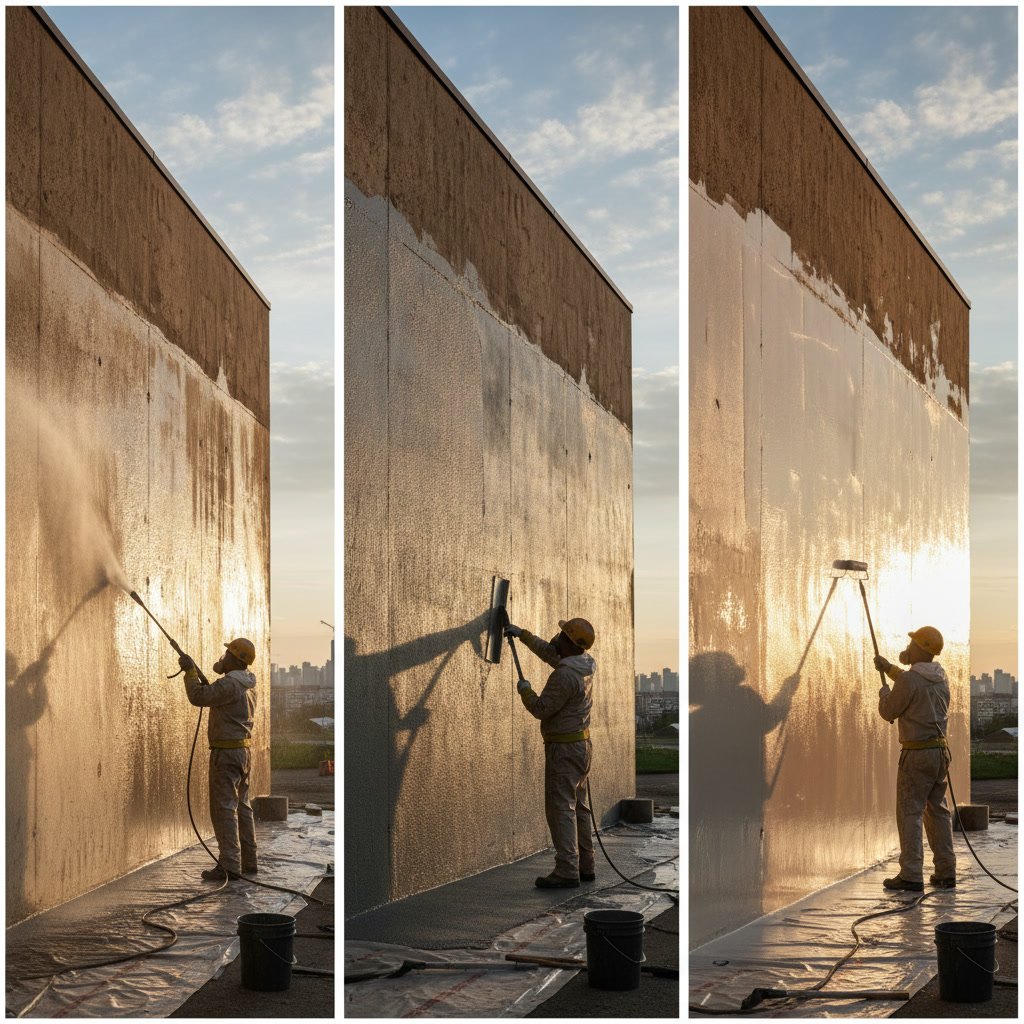
Once mortar cures sufficiently, thorough cleaning removes construction residue, mortar smears, and efflorescence. The cleaning method depends on brick type, age, and finish. Soft historic brick requires gentle approaches, while harder modern brick tolerates more aggressive techniques.
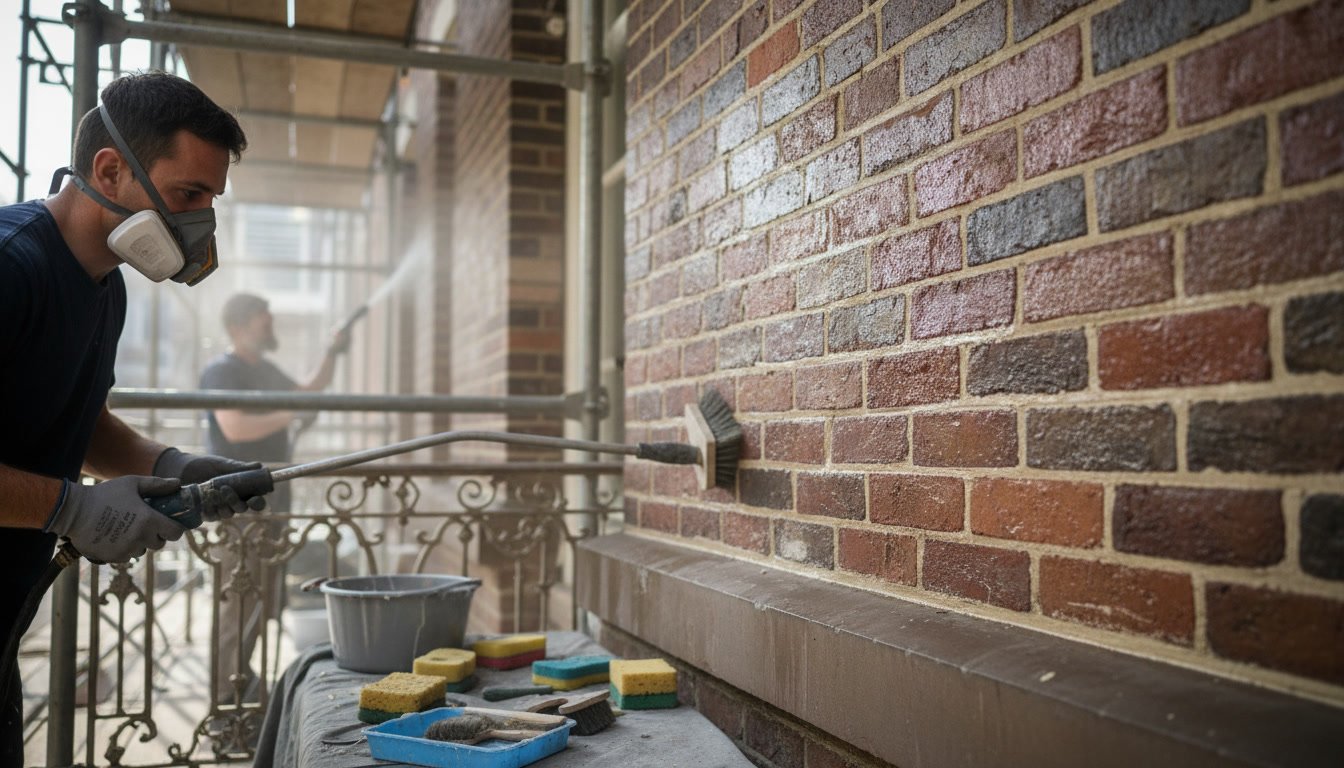
Chemical cleaners dissolve mortar haze and mineral deposits without harsh scrubbing that damages brick faces. Masons test cleaners on inconspicuous areas first to ensure they will not cause discoloration or surface erosion. Low-pressure water rinsing follows chemical application, working from top to bottom.
Abrasive cleaning such as sandblasting is rarely appropriate for restoration work. It removes the hard outer surface of brick, exposing softer interior material that deteriorates rapidly. Professional restorers avoid techniques that solve immediate cosmetic issues while creating long-term durability problems.
Applying Protective Treatments and Sealers
Some restoration projects include weatherproofing treatments that extend the life of the repair work. Breathable sealers penetrate brick surfaces, repelling water while allowing interior moisture to escape. This prevents the trapped moisture problems that cause spalling and freeze damage.
Not every brick surface should be sealed. Historic soft brick often performs better without sealers, while modern hard brick in exposed locations benefits from protection. The decision depends on brick porosity, exposure, and the building’s overall moisture management system.
Application timing matters significantly. Sealers applied to incompletely cured mortar or damp brick trap moisture and cause failures. Professionals wait for full cure and dry conditions, then apply sealers according to manufacturer specifications for temperature and coverage rates.
Final Inspection and Quality Verification
Before considering a project complete, masons conduct detailed inspections of all restored areas. They check mortar joints for proper tooling, consistent color, and complete fill. Any gaps, voids, or mismatched sections receive correction while crews and equipment remain on site.
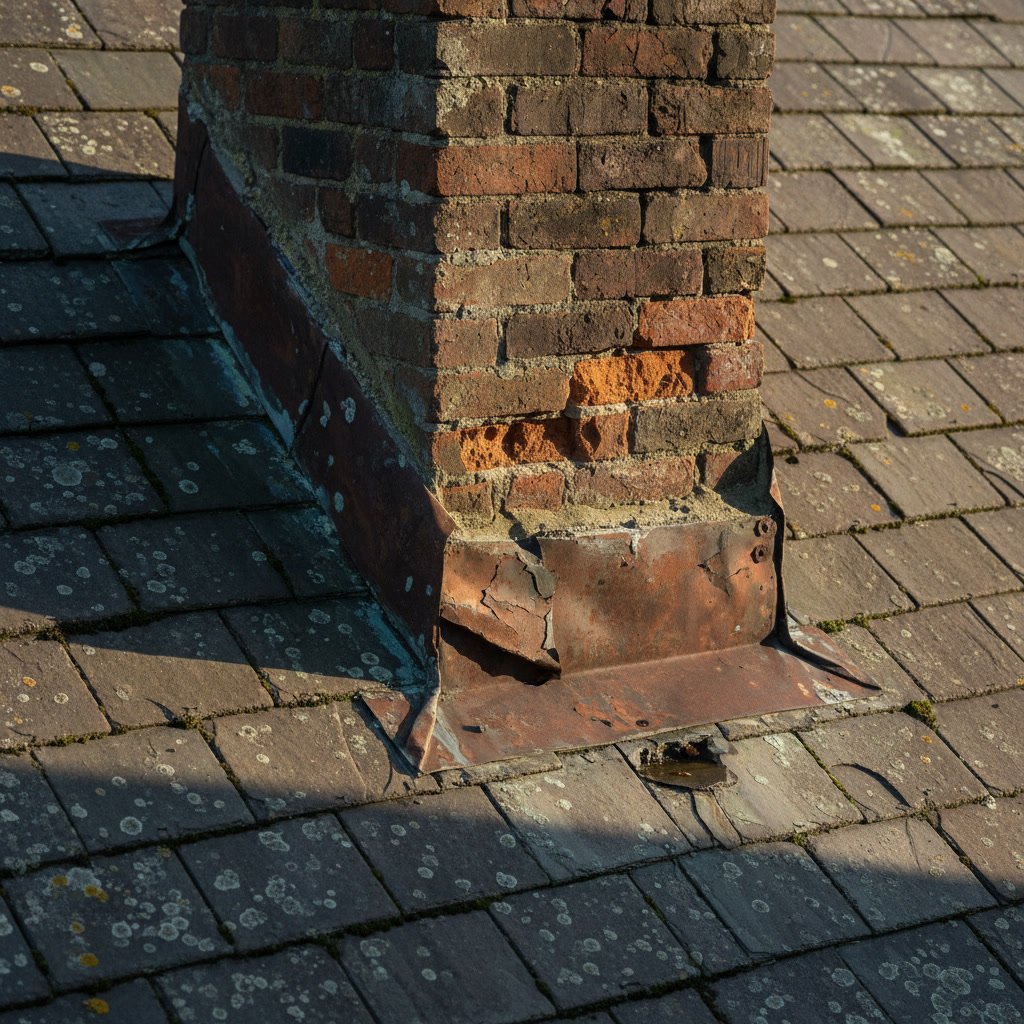
The inspection also verifies that related issues identified during assessment have been addressed. If chimney flashing needed replacement or drainage improvements were recommended, these items should be complete. Comprehensive restoration solves problems rather than masking symptoms.
Property owners receive documentation showing work performed, materials used, and maintenance recommendations. This record proves valuable for future projects and helps new owners understand the building’s care history. It also provides warranty information for guaranteed work periods.
Protecting Your Investment After Restoration
Restored brick requires ongoing maintenance to preserve the investment. Annual inspections catch small problems before they become major failures. Property owners should watch for new cracks, loose mortar, or water stains that indicate developing issues.
Gutters and downspouts deserve special attention because they control water flow away from brick surfaces. Clogged gutters overflow directly onto walls, saturating mortar and causing the exact damage that restoration just corrected. Keeping drainage systems clear extends restoration life significantly.
Vegetation management also matters. Vines and climbing plants look attractive but trap moisture against brick and force roots into mortar joints. Trees planted too close to buildings cause foundation movement and shade that keeps walls damp. Smart landscaping choices protect masonry for decades.
Understanding what happens during professional restoration helps property owners recognize quality work and realistic timelines. The process involves far more than mixing mortar and filling gaps. Skilled masons diagnose problems, match historic materials, execute repairs correctly, and protect surfaces for long-term durability. Each phase builds on the previous work to create results that last for generations.
Massey Tuckpointing & Masonry has guided property owners through hundreds of restoration projects since 2002, bringing three generations of masonry expertise to every assessment and repair. If your brick surfaces show signs of deterioration, a thorough professional evaluation reveals exactly what your building needs and what the restoration process will involve. Call +13142009488 to schedule an assessment and learn how proper restoration protects your property value and structural integrity.