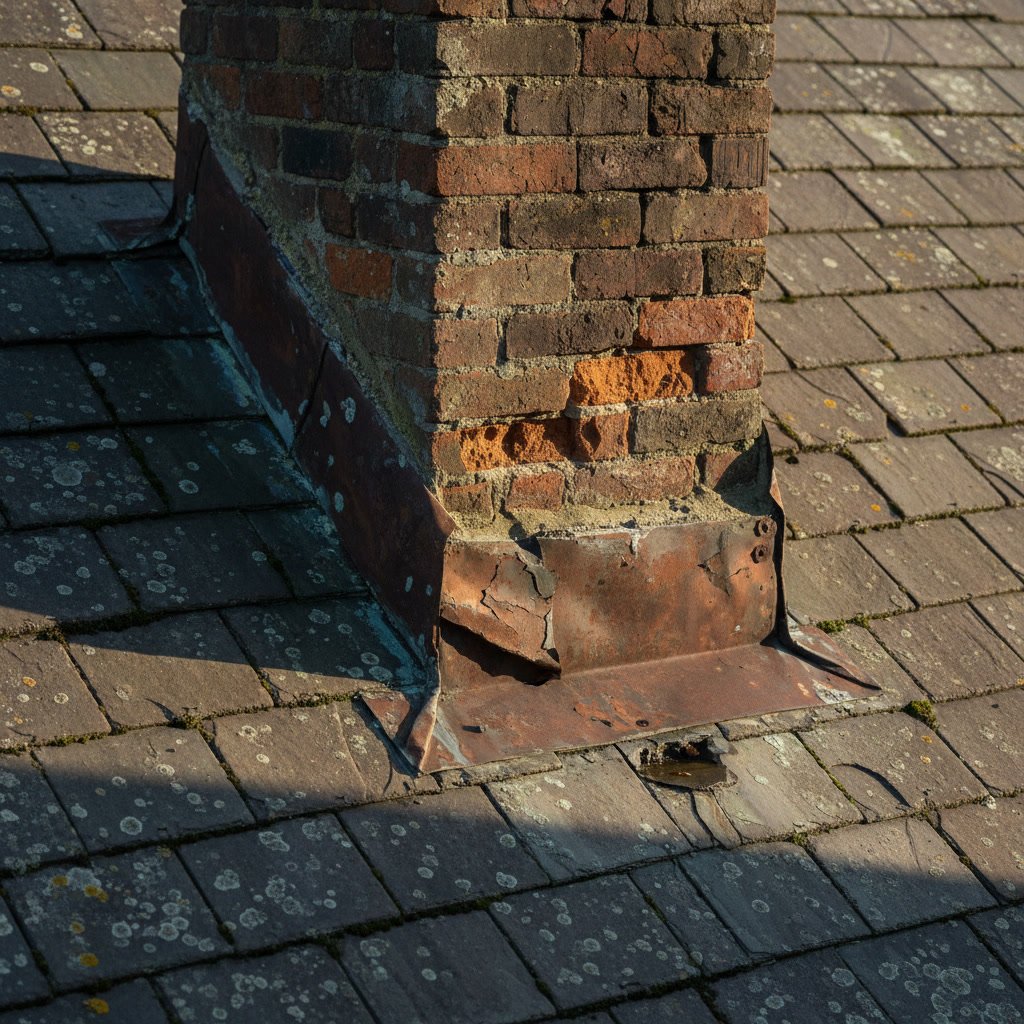
Chimney flashing is a metal waterproofing system installed where your chimney meets the roof, designed to channel water away from the vulnerable junction between two dissimilar materials. Understanding how chimney flashing works begins with recognizing that it consists of two separate components: base flashing that sits under the shingles, and counter flashing that embeds into the chimney mortar joints. When properly installed, these overlapping metal pieces create a watertight barrier that protects both your roof deck and chimney structure from moisture intrusion.
In older masonry chimneys throughout the St. Louis area, flashing failure is one of the most common sources of water damage. The materials degrade, installation methods change over time, and even well-built systems eventually reach the end of their service life.
The Anatomy of a Chimney Flashing System
A complete chimney flashing system includes several distinct layers working together. Base flashing, sometimes called step flashing, runs up the sides of the chimney and tucks beneath each course of roofing shingles. This creates the first line of defense against water running down the roof surface.
Counter flashing sits above the base flashing, embedded into the mortar joints of the chimney itself. These metal pieces overlap the base flashing by at least three inches, creating a shingled effect that directs water downward and outward. The counter flashing must be properly secured into the mortar joints, not just surface-mounted, to remain stable through decades of weather exposure.
At the back of the chimney, where the most water accumulates, a cricket or saddle is often installed. This small peaked structure diverts water around the chimney rather than allowing it to pool behind the stack. Without this feature, older chimneys are especially vulnerable to water penetration.
Materials Matter in Flashing Longevity
The material used for chimney flashing directly impacts how long the system will perform. Galvanized steel, common in homes built between the 1950s and 1980s, typically lasts 15 to 25 years before rust compromises its integrity. Aluminum flashing resists corrosion better but is softer and more prone to physical damage from thermal expansion and contraction.
Copper flashing, though more expensive, can last 50 years or longer when properly installed. Lead-coated copper offers even greater durability. Many older homes in Kirkwood and Webster Groves still have original copper flashing that remains functional, though the mortar joints where it’s embedded may have deteriorated.
Five Common Reasons Flashing Fails in Older Chimneys
Flashing failure rarely happens overnight. Most issues develop gradually through a combination of material fatigue, installation errors, and structural movement. Recognizing these patterns helps identify problems before major damage occurs.
First, mortar joint deterioration is the leading cause of counter flashing failure. As the mortar between bricks breaks down through freeze-thaw cycles and weathering, the counter flashing loses its anchor point. Even if the metal remains in good condition, loose counter flashing allows water to run behind the base flashing and into the roof structure.
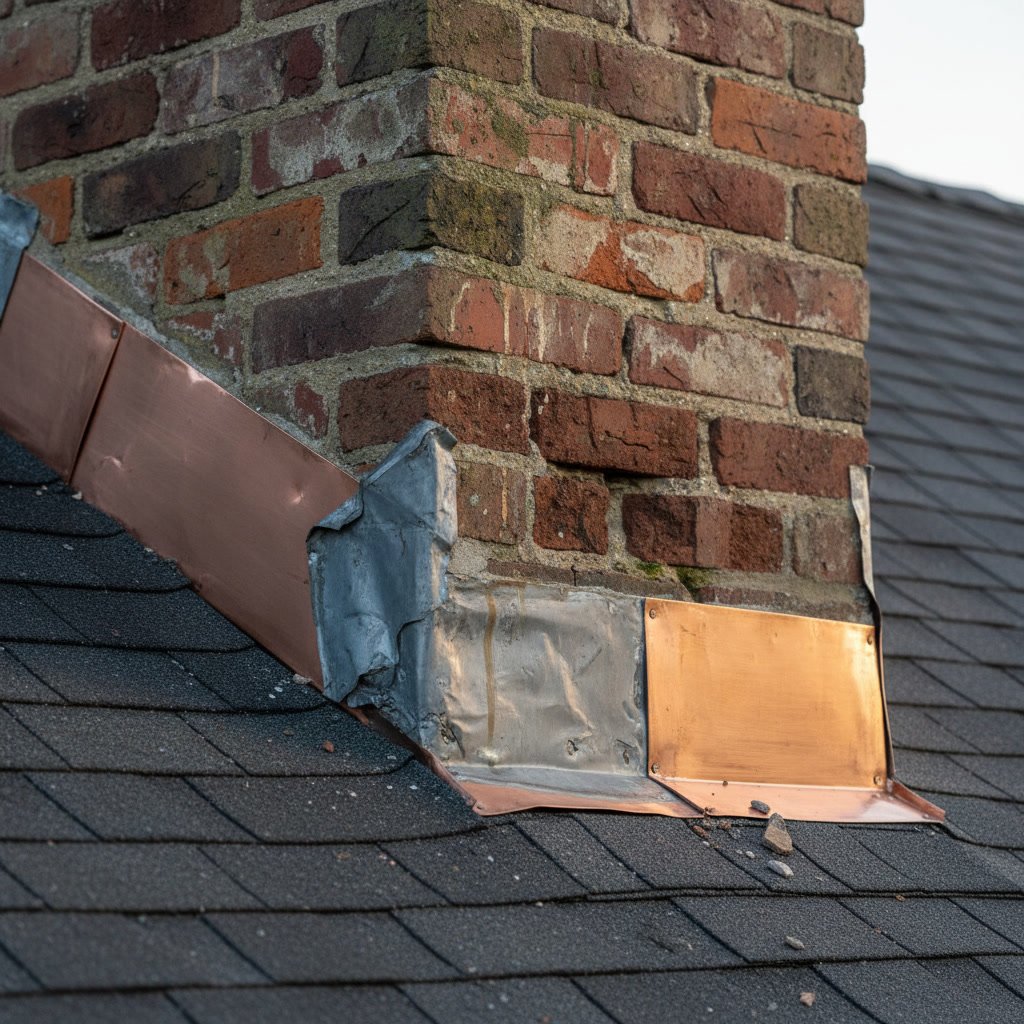
Second, corrosion eats through metal flashing, particularly at the edges and where different metals contact each other. Galvanized steel develops rust spots that eventually become holes. Once compromised, water enters freely and accelerates the deterioration of surrounding materials.
Third, improper overlap between base and counter flashing creates gaps where water can penetrate. Many older installations used insufficient overlap or positioned the flashing incorrectly, allowing wind-driven rain to work its way under the protective barrier.
Fourth, thermal expansion and contraction gradually loosens fasteners and opens seams. Chimneys experience significant temperature swings, especially on the roof surface. This constant movement stresses the flashing connections and can crack sealants or pull fasteners loose from their anchors.
Fifth, chimney settling or leaning pulls the flashing away from its original position. Older masonry chimneys sometimes settle independently from the house structure, creating gaps in the flashing system that weren’t present when originally installed.
How Water Damage Progresses After Flashing Fails
Once flashing fails, water follows a predictable path that causes escalating damage. Initially, moisture enters the small gap between the chimney and roof deck, wetting the wooden framing members. This wood remains damp between rain events, creating ideal conditions for rot and mold growth.
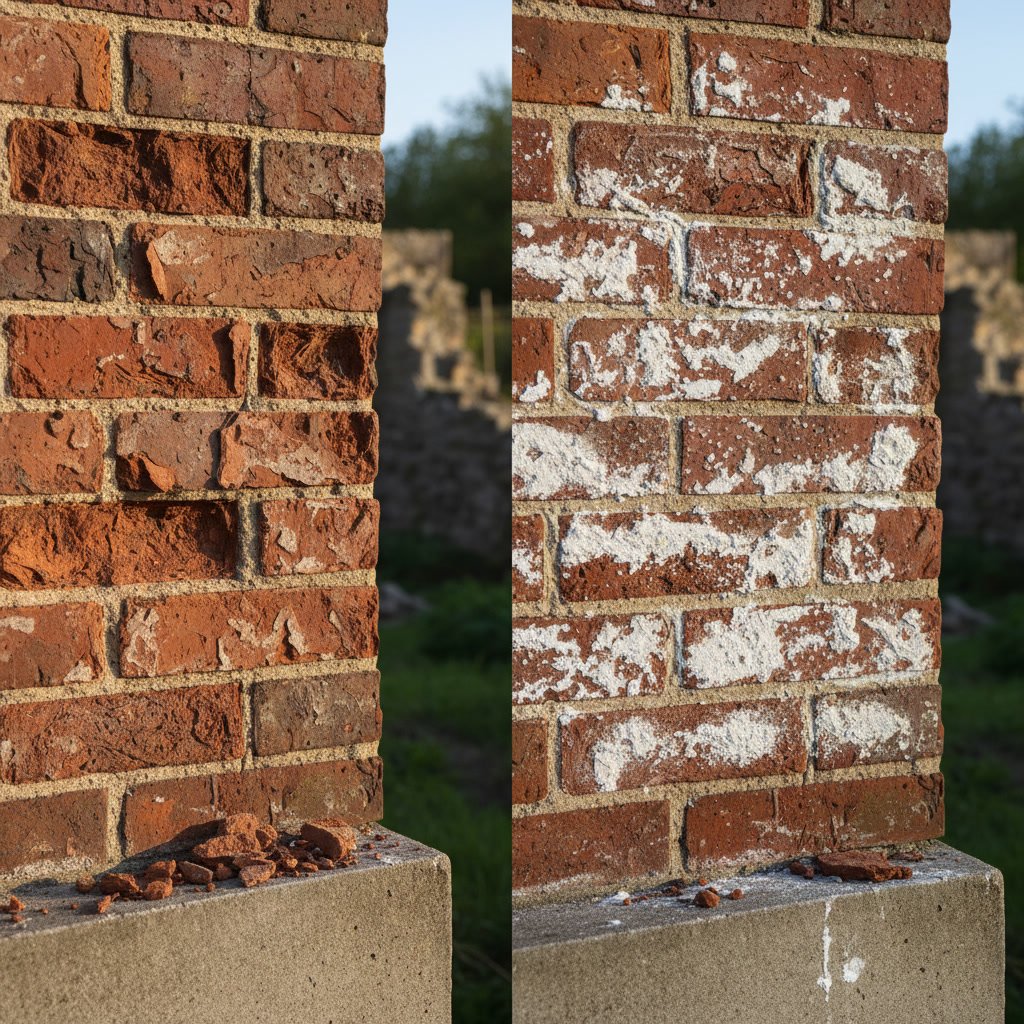
As the wood deteriorates, water begins traveling further into the structure. It runs down along the chimney sides, soaking into brick and mortar. During winter, this moisture freezes and expands, accelerating mortar joint failure and brick spalling. The same freeze-thaw cycles that damage the chimney also worsen the roof deck deterioration.
Eventually, water reaches interior ceilings and walls. Stains appear on upper-floor ceilings near the chimney. Paint bubbles and peels. In severe cases, entire sections of ceiling drywall become saturated and collapse. By this stage, what began as a flashing issue has become a multi-system repair involving roofing, masonry, and interior finishes.
Inspection Points for Identifying Failing Flashing in Affton Homes
Regular visual inspection catches most flashing problems before they cause serious damage. From the ground, look for visible gaps between the chimney and roofline, especially after heavy rain. Binoculars help spot rust stains, lifted metal edges, or missing sections of flashing.
Inside the home, check the attic around the chimney penetration. Look for water stains on the roof deck, damp insulation, or white mineral deposits indicating past water presence. Even old stains warrant investigation, as the problem may be ongoing but intermittent.
On the chimney itself, examine the mortar joints where counter flashing embeds. If the mortar is crumbling or recessed more than a quarter inch, the flashing likely lacks proper support. Loose or missing mortar around flashing is a clear sign that chimney services are needed soon.
Professional inspection provides the most thorough assessment. A qualified mason can evaluate the flashing condition from the roof, check the overlap distances, test the metal integrity, and identify problems not visible from the ground. This inspection should be part of routine chimney maintenance every three to five years.
The Relationship Between Flashing and Mortar Joint Integrity
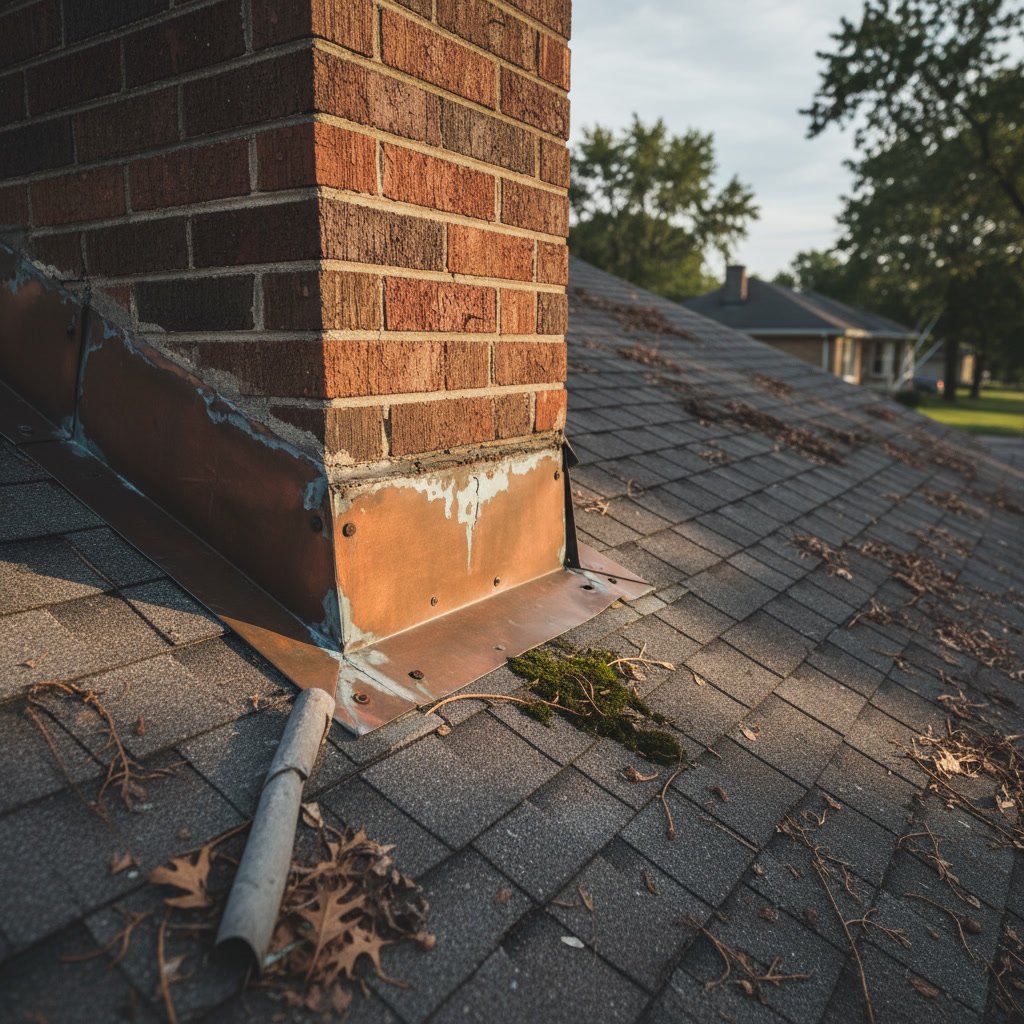
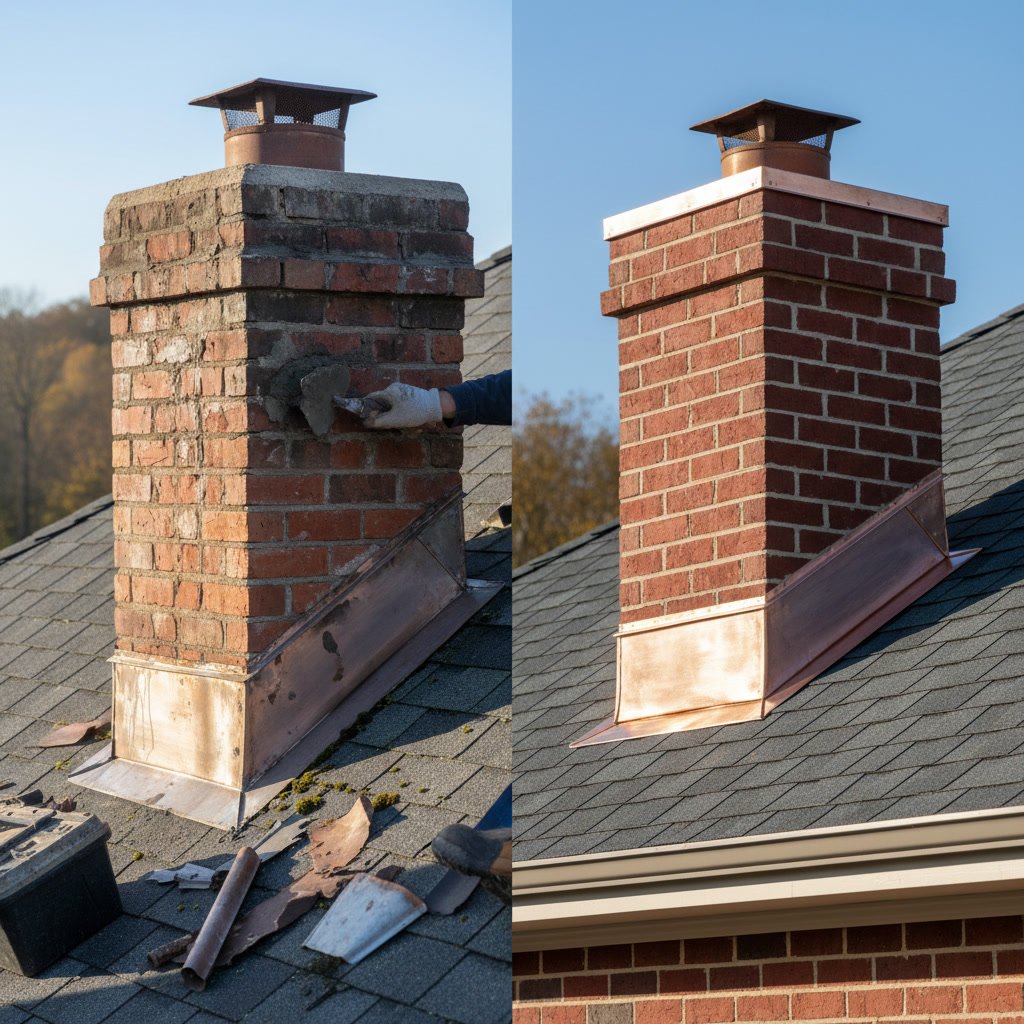
Counter flashing depends entirely on sound mortar joints for stability. When masonry professionals install counter flashing, they cut a reglet (a thin slot) into the mortar joint, insert the flashing, and seal it with new mortar or specialized sealant. This embedment is what keeps the flashing in place against wind uplift and thermal movement.
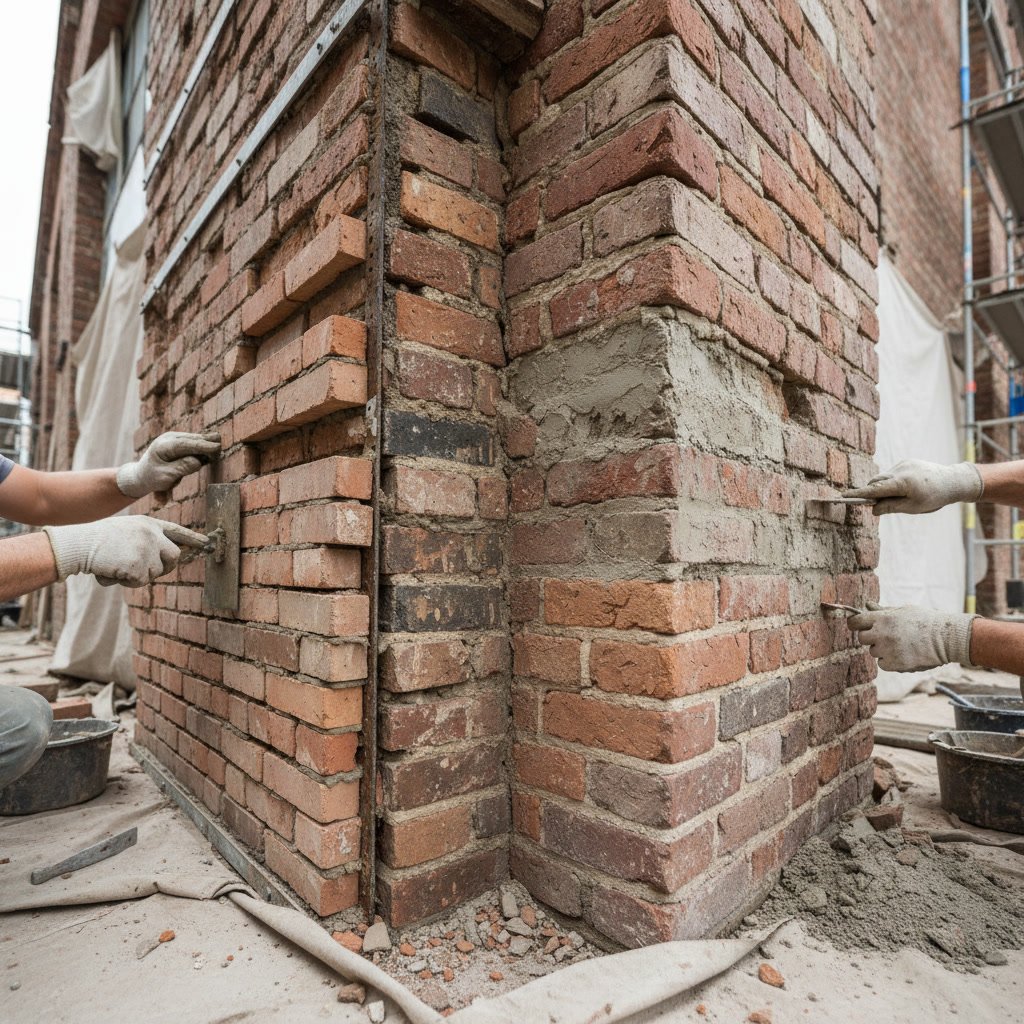
As mortar joints deteriorate through normal weathering, the counter flashing loses this critical anchor. The metal may still look intact, but without proper embedment, it can lift, shift, or pull away from the chimney surface. This is why tuckpointing often accompanies flashing replacement. Repointing the mortar joints provides a stable foundation for the new flashing system and ensures both components will perform as designed.
In some cases, the mortar has deteriorated so badly that the entire brick course where flashing embeds needs attention. Simply replacing the flashing without addressing the masonry issues results in repeated failures within a few years.
Why Modern Flashing Techniques Outlast Older Methods
Installation methods have evolved significantly over the past few decades. Older flashing installations often relied on roofing tar or asphalt-based sealants to fill gaps and secure connections. These materials harden and crack within 10 to 15 years, losing their waterproofing capability long before the metal itself fails.
Modern installations use flexible polyurethane or silicone sealants that remain elastic through temperature extremes. These products maintain their seal even as the chimney and roof expand and contract at different rates. The flexibility prevents the cracking that plagued older installations.
Contemporary best practices also specify larger overlap dimensions between base and counter flashing, typically four inches rather than the two or three inches common in older work. This extra overlap provides greater protection against wind-driven rain and creates a wider margin for error in installation alignment.
Fastening techniques have improved as well. Modern installations use stainless steel screws and clips specifically designed for metal flashing, rather than the galvanized nails that were standard decades ago. These fasteners resist corrosion and maintain their holding power far longer.
When Repair Makes Sense Versus Full Replacement
Not every flashing issue requires complete replacement. Minor problems caught early can often be repaired at a fraction of replacement cost. If the metal shows no corrosion and remains properly shaped, but sealants have failed or a section has pulled loose, targeted repairs may restore full functionality.
Similarly, if counter flashing has loosened due to mortar deterioration but the base flashing remains sound, repointing the mortar joints and re-embedding the counter flashing can solve the problem. This approach makes sense when the flashing material itself has substantial remaining service life.
Full replacement becomes necessary when the metal shows rust-through, multiple sections have failed, or the original installation used methods or materials that are fundamentally inadequate. Homes with galvanized steel flashing approaching 20 years old should strongly consider proactive replacement rather than ongoing repairs.
Complete replacement also makes sense when other roof or chimney work is planned. Coordinating flashing replacement with roof replacement or masonry restoration saves money on mobilization costs and ensures all components are properly integrated.
The Critical Role of Proper Sealing and Weatherproofing
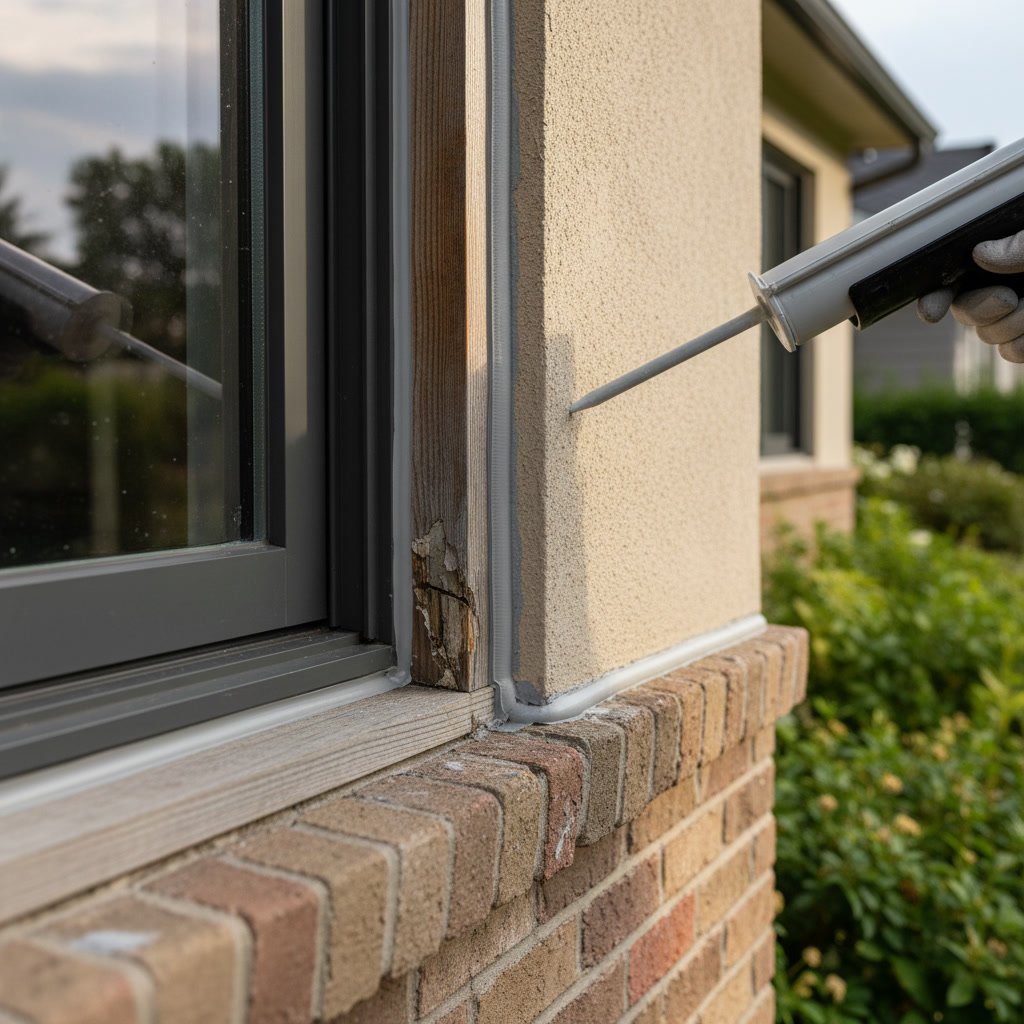
Even perfectly installed flashing needs proper sealing at critical junctions. The points where flashing meets the chimney surface, where sections overlap, and where fasteners penetrate the metal all represent potential water entry points. High-quality sealants designed specifically for metal-to-masonry applications are essential at these locations.
Many homeowners don’t realize that chimney flashing is just one component of a comprehensive weatherproofing strategy for masonry structures. The chimney crown, which caps the top of the chimney, works in concert with the flashing to keep water out. A damaged crown allows water to saturate the chimney from above, overwhelming even properly functioning flashing.
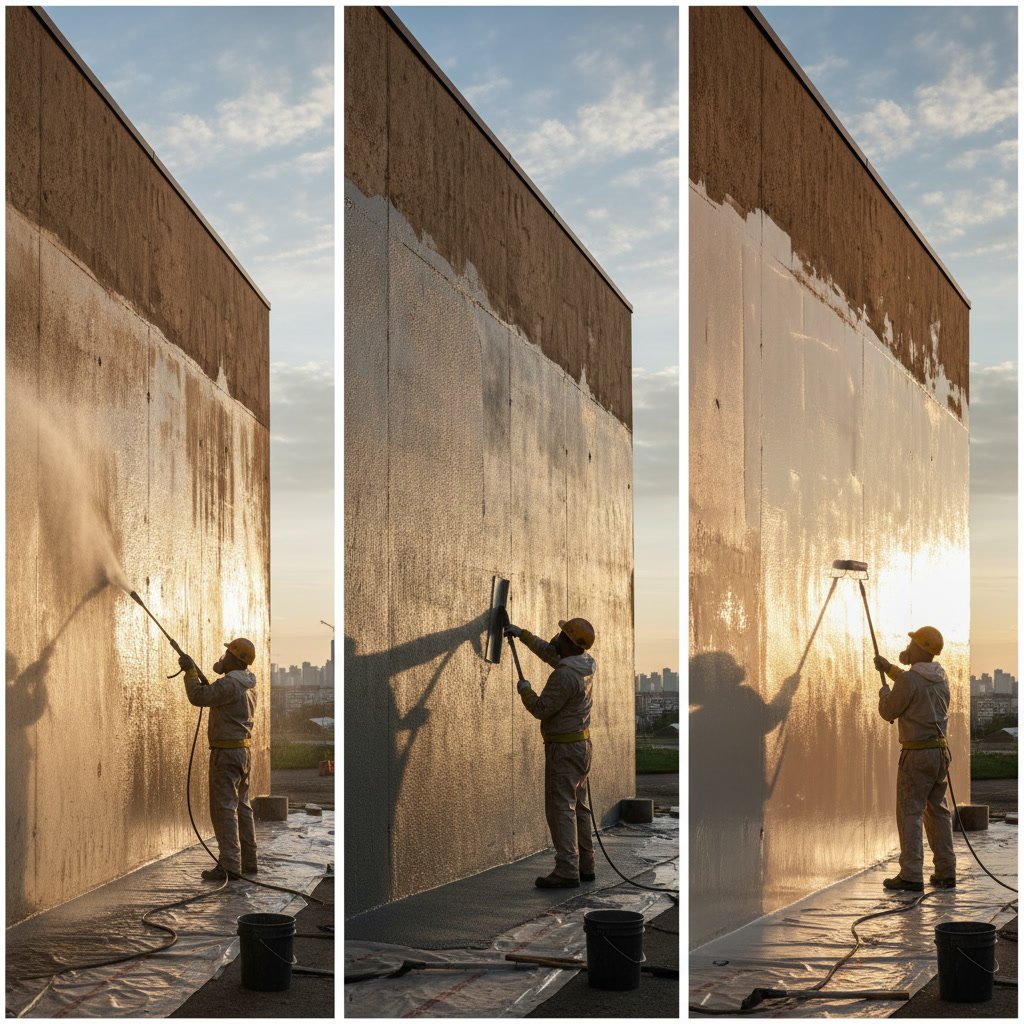
Likewise, deteriorated brick and mortar on the chimney exterior can absorb significant moisture, which then works its way inward and downward. Comprehensive chimney waterproofing addresses all these elements together rather than treating flashing in isolation.
What Professional Flashing Installation Should Include
A professional flashing installation or replacement follows a specific sequence that ensures long-term performance. The process begins with complete removal of old flashing and careful inspection of the underlying roof deck and chimney structure. Any damaged wood or deteriorated masonry must be repaired before new flashing goes in.
Next, base flashing is installed in a stepped pattern up the chimney sides, with each piece overlapping the one below and tucking beneath the roofing material. At the chimney back, a cricket is built if one doesn’t exist or the existing cricket is rebuilt if damaged.
Counter flashing installation requires cutting reglets into the mortar joints at the proper depth (typically three-quarters of an inch) and positioning. The flashing inserts into these slots, overlaps the base flashing by at least four inches, and is secured with appropriate fasteners. The reglets are then sealed with new mortar or a specialized masonry sealant rated for long-term exterior exposure.
Finally, all seams, overlaps, and penetrations receive high-quality sealant. The installer inspects every connection point to ensure complete water protection. This attention to detail separates professional installations from quick patch jobs that fail prematurely.
Protecting Your Investment for Decades to Come
Chimney flashing represents a critical waterproofing component that protects substantial home value. When it functions properly, you never think about it. When it fails, the resulting damage can cost thousands of dollars to repair across multiple building systems.
Understanding the mechanics of flashing systems, recognizing the common failure patterns in older masonry chimneys, and knowing when to act on warning signs helps homeowners avoid catastrophic water damage. Regular inspection, timely maintenance, and professional installation when replacement becomes necessary ensure this often-overlooked component continues protecting your home.
The investment in quality flashing materials and skilled installation pays dividends through decades of trouble-free performance, while cutting corners on this critical component inevitably leads to premature failure and expensive secondary damage.
Massey Tuckpointing & Masonry has been diagnosing and repairing chimney flashing failures throughout the St. Louis region since 2002. Our team understands the unique challenges that older masonry chimneys face and uses proven techniques to restore complete water protection. If you’ve noticed signs of flashing failure or simply want a professional assessment of your chimney’s condition, call +13142009488 to schedule an inspection and protect your home from preventable water damage.