
Professional window and door caulking involves far more than applying a bead of sealant. From surface preparation to curing and final inspection, each step in the window door caulking process ensures your home stays protected from moisture intrusion and air leaks for years to come. The difference between a temporary fix and lasting protection lies in how thoroughly technicians prepare surfaces, select materials, and execute each phase of the work.
Why Professional Caulking Is More Than a Simple Sealant Application
Many homeowners underestimate what proper caulking requires. A professional approach addresses substrate compatibility, surface contamination, joint geometry, and environmental conditions during application. Poor prep work or incorrect product selection leads to premature failure, often within months rather than the five to ten years quality caulking should last.
The right materials matter. Exterior window and door applications demand different products than interior joints. Silicone, polyurethane, and hybrid polymer formulations each offer distinct advantages depending on exposure to UV radiation, temperature swings, and structural movement. Professionals evaluate these factors before opening a single tube.
How Technicians Begin With a Thorough Assessment
Before any prep work begins, experienced crews inspect every window and door perimeter. They look for existing damage, measure joint widths, identify substrate materials, and check for signs of water intrusion or structural movement. This initial assessment determines the scope of work and helps select the appropriate caulking compound.
Technicians also evaluate the condition of existing caulk. If the old material still adheres well and shows no cracking, they may caulk over it in certain situations. More often, complete removal is necessary to ensure proper adhesion of the new sealant. This decision affects both project timeline and long-term performance.

Complete Removal of Old Caulk and Surface Contamination
Removing deteriorated caulk requires patience and the right tools. Professionals use utility knives, specialty caulk removal tools, and sometimes heat guns to soften stubborn material. The goal is to extract every trace of old sealant without damaging the surrounding surfaces, particularly on painted wood frames or delicate masonry.
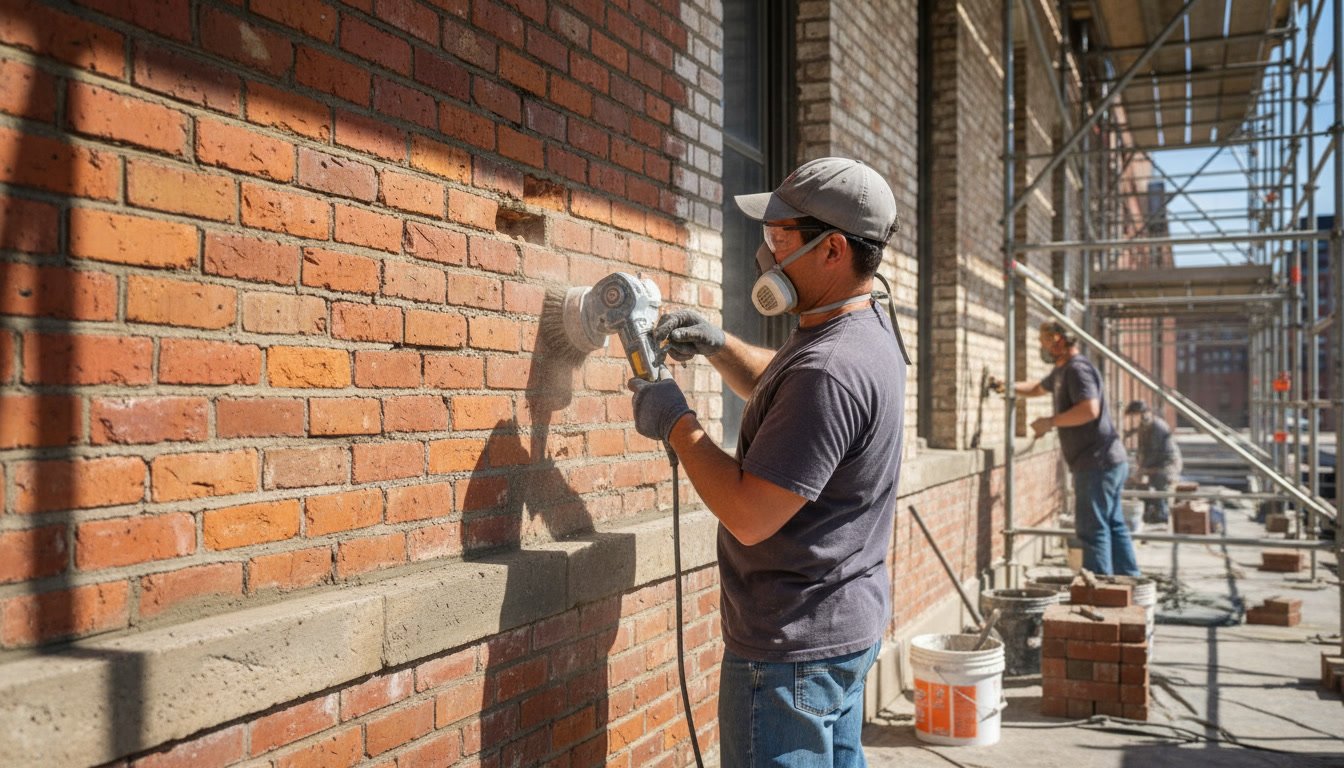
After removal, surfaces undergo thorough cleaning. Dust, pollen, mildew, oils, and loose paint all prevent proper adhesion. Technicians typically use mineral spirits or isopropyl alcohol to wipe down substrates, ensuring chemically clean surfaces. On masonry or brick, wire brushing may be necessary to remove efflorescence or mortar dust.
Surface preparation accounts for nearly half the time in a professional caulking job. Rushing this phase guarantees failure, which is why experienced companies allocate adequate time rather than treating it as a quick add-on service.
Proper Surface Drying and Moisture Testing in Affton
Moisture is caulk’s worst enemy during application. Even if surfaces look dry, residual moisture in porous materials like wood or brick can prevent adhesion or cause bubbling as it escapes through the curing sealant. Professional crews check moisture levels using handheld meters, particularly after rain or in humid conditions common to the St. Louis area.
Depending on substrate porosity and weather, drying times vary from a few hours to a full day. Forced-air drying with fans can speed the process, but natural evaporation is often safer to avoid surface temperature issues that affect caulk curing.
Selecting and Preparing the Correct Caulking Material
Not all caulks are created equal. Window and door caulking demands products rated for exterior use with strong adhesion to dissimilar materials. Wood frames meeting brick or siding, metal windows set into masonry, and vinyl frames against stucco all present unique bonding challenges.
Professionals typically choose 100% silicone for maximum water resistance and flexibility, or polyurethane for paintability and durability on wood. Hybrid formulations combine advantages of both. The selected product must accommodate joint movement, typically ranging from 10% to 50% compression or extension without tearing.
Temperature matters during application. Most caulks require substrate and ambient temperatures between 40 and 90 degrees Fahrenheit. Applying outside this range affects curing chemistry and can lead to poor adhesion or incomplete cross-linking.
Step-by-Step Application Technique for Lasting Results
Proper application follows a specific sequence. First, technicians cut the caulk tube nozzle at a 45-degree angle, sized to match the joint width. A narrower bead looks neater but may not provide adequate seal depth. The cut size typically ranges from one-eighth inch to three-eighths inch depending on the gap.
Second, the gun applies a continuous bead at a consistent speed and angle. Professionals push the gun forward rather than pulling it backward, which forces material deeper into the joint for better adhesion. Steady hand pressure maintains uniform bead size without gaps or voids.
Third, tooling shapes the bead immediately after application. A wetted finger, specialty tool, or small spoon smooths the surface, pushes sealant against both substrates, and creates a slight concave profile that sheds water. This step also removes excess material before it skins over.
Fourth, masking tape removed within minutes of tooling creates clean edges on finished work. Waiting too long makes tape pull away cured sealant, creating ragged lines.
Why Backer Rod Matters for Deeper Joints
Joints wider than one-quarter inch or deeper than one-half inch require backer rod before caulking. This foam cord fills the joint depth, providing a backing surface that controls caulk thickness and prevents three-sided adhesion, which restricts necessary movement and causes premature failure.
Selecting the correct backer rod diameter ensures it compresses about 25% when inserted, holding itself in place without tools. Too small and it falls into the joint. Too large and it bulges outward, distorting the caulk bead. Closed-cell foam works best for exterior applications because it resists water absorption.
This detail separates professional work from amateur attempts. Many DIY caulking failures stem from applying sealant too thick without proper backing, creating a bond that can’t flex as the building moves through seasonal cycles.
Curing Time and Environmental Protection
After application, caulk needs undisturbed curing time. Skin-over time, when the surface becomes tack-free, ranges from 30 minutes to several hours depending on product and humidity. Full cure, when the material reaches maximum strength and flexibility, takes one to 14 days.
During this period, protection from rain is critical. Most caulks can tolerate light moisture after initial skin-over, but heavy rain within the first few hours can wash away uncured material or create surface defects. Professionals monitor weather forecasts and schedule accordingly, sometimes using temporary plastic sheeting if unexpected rain threatens.
Temperature swings during curing can also affect performance. Extreme cold slows or stops curing reactions, while excessive heat can cause surface cracking or skinning over before deeper material cures. Ideal curing conditions mirror ideal application conditions.

How Quality Control Catches Issues Before They Become Problems
Professional crews conduct quality checks at multiple stages. During application, supervisors look for consistent bead size, proper tooling, complete joint filling, and clean edges. After curing begins, they inspect for bubbles, voids, or adhesion failures that indicate contamination or moisture issues.
This is where experience shows. A trained eye spots problems invisible to homeowners: slight bead discoloration suggesting incomplete substrate prep, minor edge lifting indicating inadequate surface cleaning, or texture variations revealing rushed tooling. Catching these early allows correction before full cure locks in defects.
Companies like Massey Tuckpointing & Masonry build quality control into every project phase rather than treating it as a final afterthought. This approach reflects the standards established over 20 years of serving homeowners throughout St. Louis County.
Final Inspection and Performance Verification
Once curing completes, a final inspection verifies work quality. Technicians check every joint for complete adhesion by gently pressing the cured bead, looking for any separation from substrates. They examine tooling smoothness, edge definition, and overall appearance.
Functional testing includes water spray in some cases, particularly around windows with histories of leaks. A fine mist applied to caulked joints reveals any gaps or incomplete seals that might not be visible. This step provides immediate feedback rather than waiting for the next rainstorm.
Documentation matters for larger projects. Photos of completed work, notes on materials used, and records of environmental conditions during application create a reference for future maintenance. Homeowners receive information about expected lifespan and signs that re-caulking may eventually be needed.
What Separates Lasting Protection From Temporary Fixes
The difference between professional caulking and quick fixes comes down to three factors: preparation thoroughness, material selection expertise, and application precision. Cutting corners on any step compromises the entire job. Understanding how proper caulking prevents structural water damage highlights why this work deserves professional attention.
Proper caulking integrates with broader Weatherproofing strategies that protect your home’s envelope. When combined with appropriate flashing, drainage planes, and vapor barriers, quality caulking forms part of a comprehensive moisture management system rather than functioning as an isolated band-aid.
Getting Professional Results That Protect Your Investment
The complete caulking process, from initial assessment through final inspection, ensures your windows and doors remain weathertight for years. Proper preparation, material selection, application technique, and curing conditions all contribute to performance that justifies the investment in professional service rather than repeated DIY attempts.
Massey Tuckpointing & Masonry has refined the window and door caulking process through thousands of projects across the greater St. Louis area. Our crews bring the experience, materials, and attention to detail that turn routine maintenance into lasting protection. Whether your home needs complete perimeter sealing or targeted repairs, we deliver results that stand up to Missouri weather year after year. Call (314) 200-9488 to schedule an assessment and protect your home with professional caulking that’s done right the first time.