Understanding how brick restoration works starts with recognizing that it is a multi-step process designed to repair, preserve, and protect damaged brickwork. The typical restoration project includes an initial assessment, surface cleaning, mortar removal and replacement, brick repair or replacement, and final sealing or weatherproofing. Most residential projects take between three to seven days depending on the extent of damage and the size of the affected area.
Brick is a durable building material, but decades of exposure to rain, freeze-thaw cycles, and settlement can cause serious deterioration. Cracks, spalling, loose mortar, and water infiltration compromise both appearance and structural stability. When these issues arise, restoration becomes necessary to prevent further damage and costly repairs down the line.
Why Brick Structures Deteriorate Over Time
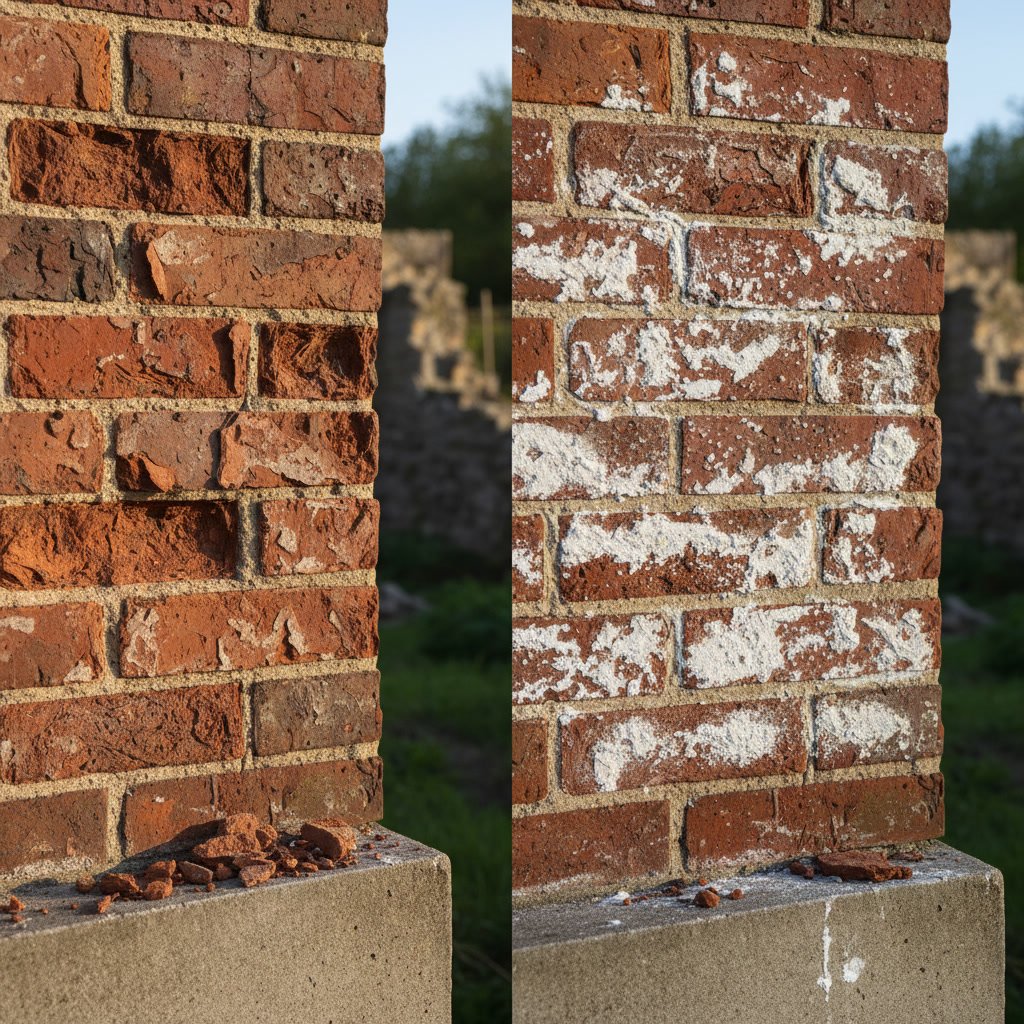
The natural aging process affects all masonry. Water is the most common culprit behind brick damage. When moisture seeps into porous brick or cracked mortar joints, it expands during freezing temperatures and chips away material from the inside. This freeze-thaw cycle repeats throughout winter months and accelerates deterioration.
Poor drainage, missing or damaged flashing, and inadequate sealing around windows and doors also contribute to problems. In many older homes, the original mortar mixture was softer than modern mixes. While this allowed for flexibility, it also means the mortar wears away faster than the brick itself, creating gaps and weak points.
Initial Assessment and Inspection
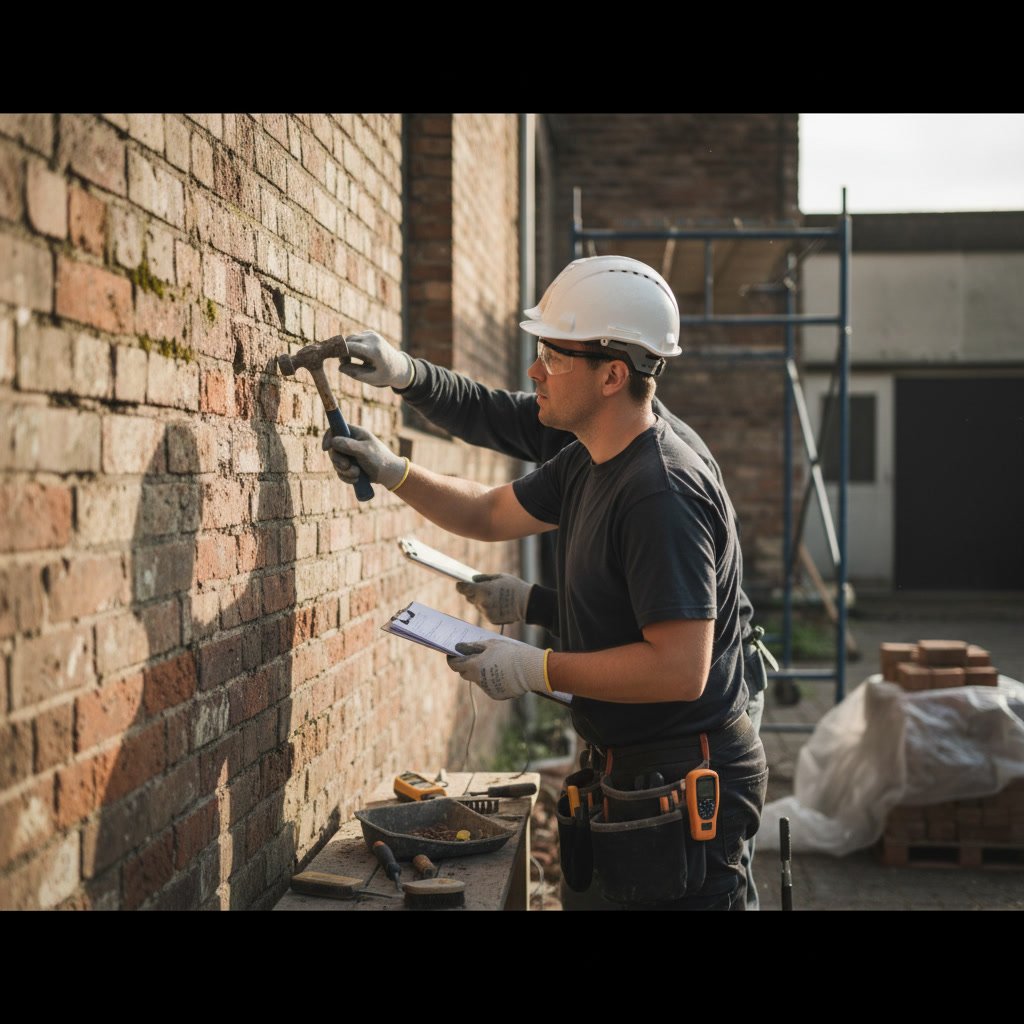
Every restoration project begins with a thorough inspection. A qualified mason examines the entire structure to identify visible damage such as cracked bricks, deteriorated mortar joints, efflorescence (white salt deposits), and structural issues like bowing or leaning walls. This step determines the scope of work and helps develop an accurate estimate.
During the assessment, the mason checks for hidden problems. Tapping bricks with a hammer produces a hollow sound when the brick has separated from the wall or when the mortar behind it has failed. Moisture meters may be used to detect water infiltration that isn’t visible to the eye. Understanding the full extent of damage prevents surprises once work begins.
Surface Cleaning and Preparation
Once the plan is established, crews prepare the work area by protecting landscaping, windows, and adjacent surfaces with tarps and plastic sheeting. The brick surface is then cleaned to remove dirt, mildew, old paint, and loose material. Methods vary depending on the brick type and condition.
Pressure washing is effective for most projects, but the pressure setting must be carefully controlled. Too much force can damage soft historic bricks or erode weakened mortar. Chemical cleaners may be applied to stubborn stains or biological growth. Gentle abrasive cleaning works well on tougher surfaces. Proper cleaning reveals the true condition of the brick and ensures new mortar adheres correctly.
Mortar Joint Removal and Repointing
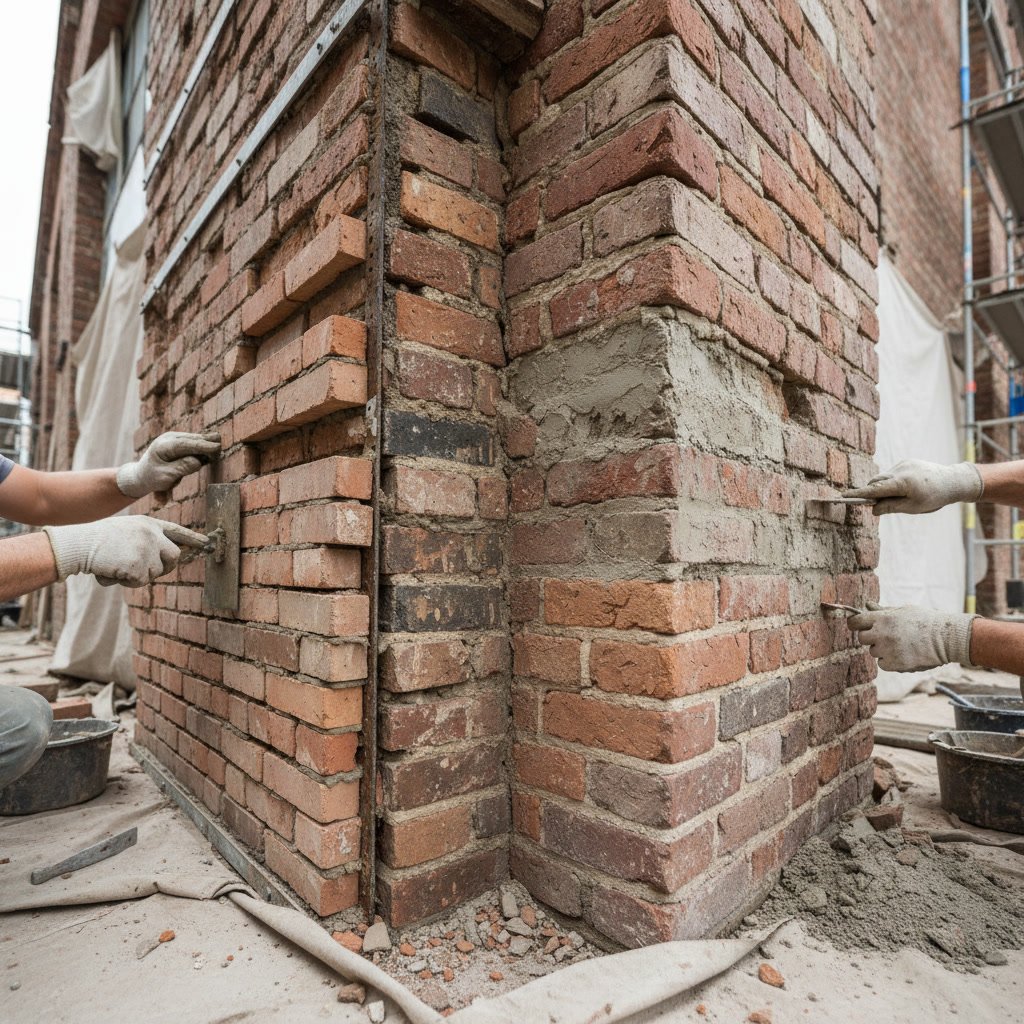
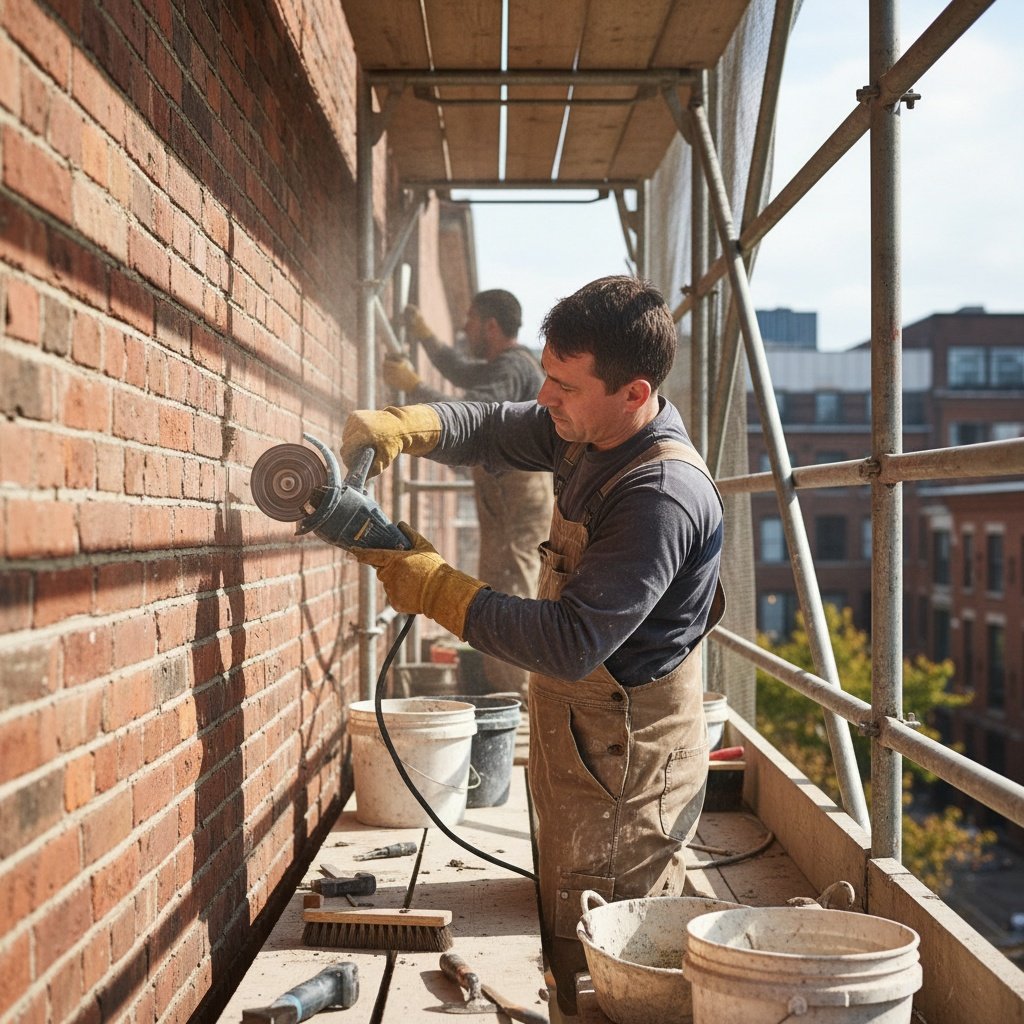
Damaged mortar must be removed before new material can be applied. Masons use grinders, chisels, or specialized tools to cut out deteriorated joints to a depth of at least three-quarters of an inch, sometimes deeper. This process, called grinding out or cutting out, creates a clean channel for fresh mortar.
The depth matters because shallow repointing fails quickly. New mortar needs sufficient depth to bond properly and withstand weather exposure. After removal, workers brush away dust and debris, then dampen the joints with water. This prevents the old brick from absorbing moisture from the new mortar too quickly, which would weaken the bond. If you want to understand the difference between repair methods, our post on tuckpointing versus repointing explains the nuances in detail.
Fresh mortar is mixed to match the original in both color and strength. Using mortar that is too hard can crack the surrounding bricks, so matching the composition of historic mortar is critical for older homes. The new mortar is carefully packed into the joints, then tooled to the correct profile once it begins to set.
Brick Repair and Replacement
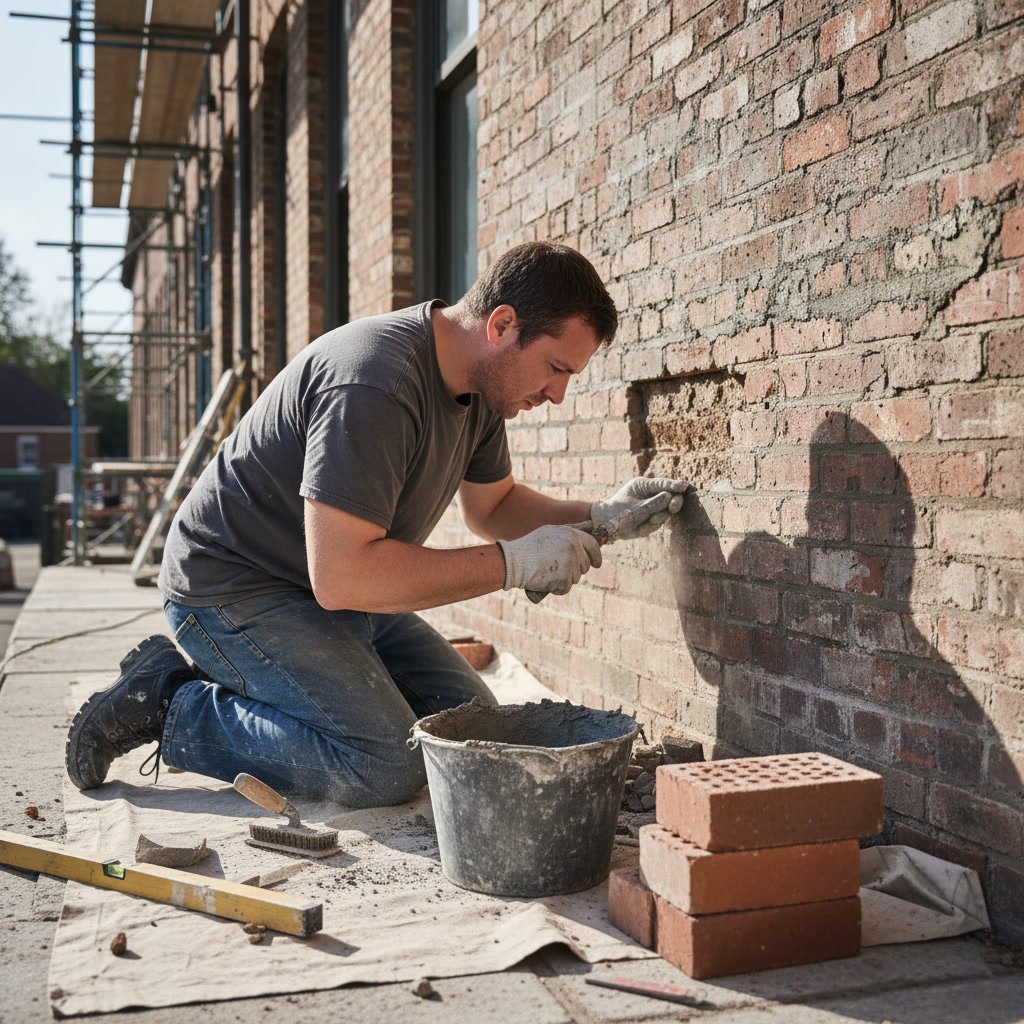
When individual bricks are cracked, spalling, or missing, they need to be repaired or replaced. Minor surface spalling can sometimes be patched with specialty mortar or epoxy formulated for brick repair. Deep cracks or bricks that have lost structural integrity must be removed and replaced entirely.
Removing a damaged brick without harming adjacent bricks requires skill. Masons carefully grind out the surrounding mortar, then extract the brick using chisels and pry tools. A replacement brick, ideally matching the size, color, and texture of the original, is set in place with fresh mortar. For historic homes, sourcing matching bricks can be challenging and may require salvage yards or specialty suppliers.
Step-by-Step Timeline for a Typical Brick Restoration Project in Affton
Most residential brick restoration projects follow a predictable sequence. Day one typically involves setup, protection of the site, and initial cleaning. Days two and three focus on mortar removal and repointing. If brick replacement is needed, that happens on day three or four.
By day four or five, finish work begins. Masons tool the mortar joints to match the original profile, clean excess mortar from brick faces, and inspect the work for quality. Sealing or weatherproofing applications happen after the mortar has cured for at least 48 hours. Final cleanup and site restoration wrap up the project by day six or seven.
Weather plays a significant role in scheduling. Mortar requires temperatures above 40 degrees Fahrenheit to cure properly, and rain can wash out fresh mortar before it sets. Projects scheduled during spring or fall may experience delays due to unpredictable weather, while summer offers the most reliable conditions.
Weatherproofing and Sealing
After the structural repairs are complete, applying a breathable sealer protects the restored brick from future water damage. Not all sealers are appropriate for masonry. The wrong product can trap moisture inside the wall, leading to more damage than it prevents.
Breathable sealers allow water vapor to escape while blocking liquid water from penetrating the surface. Silane and siloxane-based products are popular choices for brick because they penetrate deeply and do not alter the appearance of the masonry. Application is straightforward but must be done under the right conditions to ensure proper absorption. Our guide on weatherproofing options for brick homes covers the different products and their appropriate uses.
Addressing Related Issues During Restoration
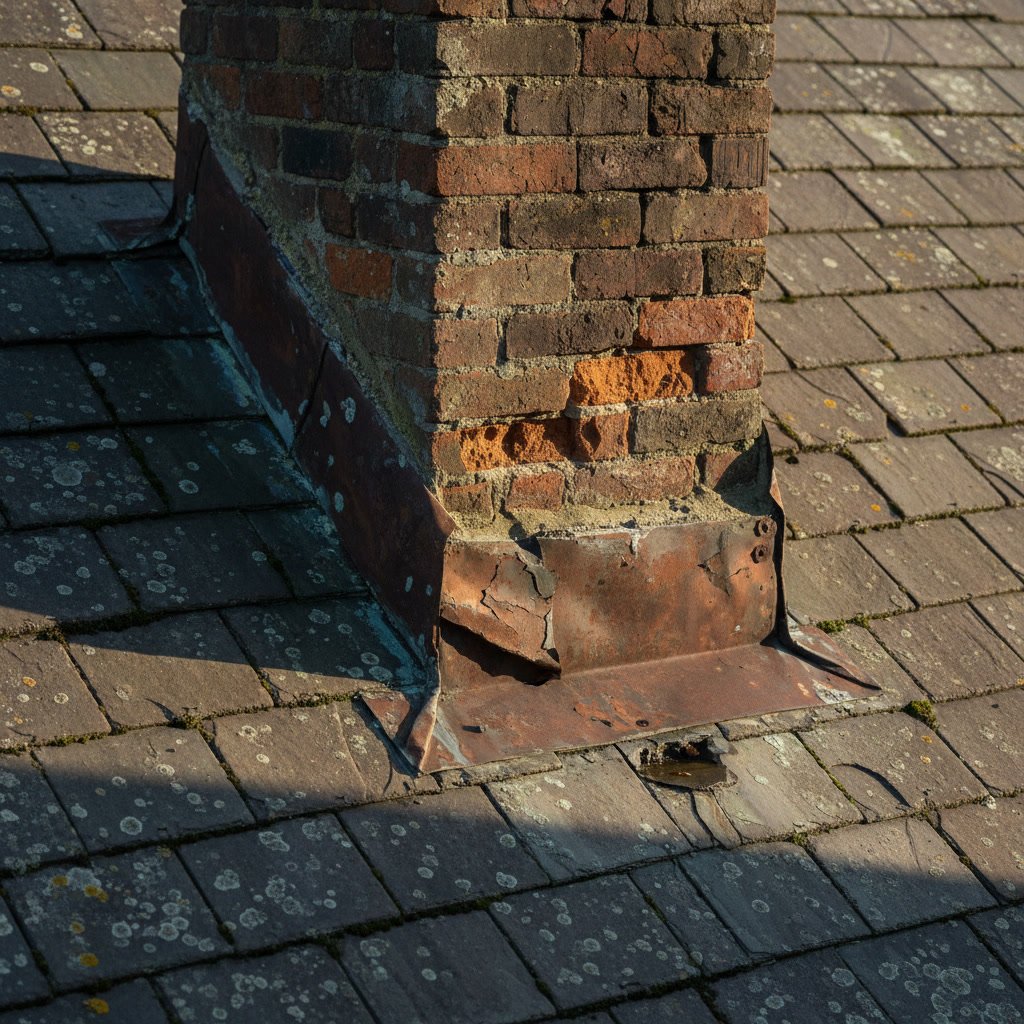
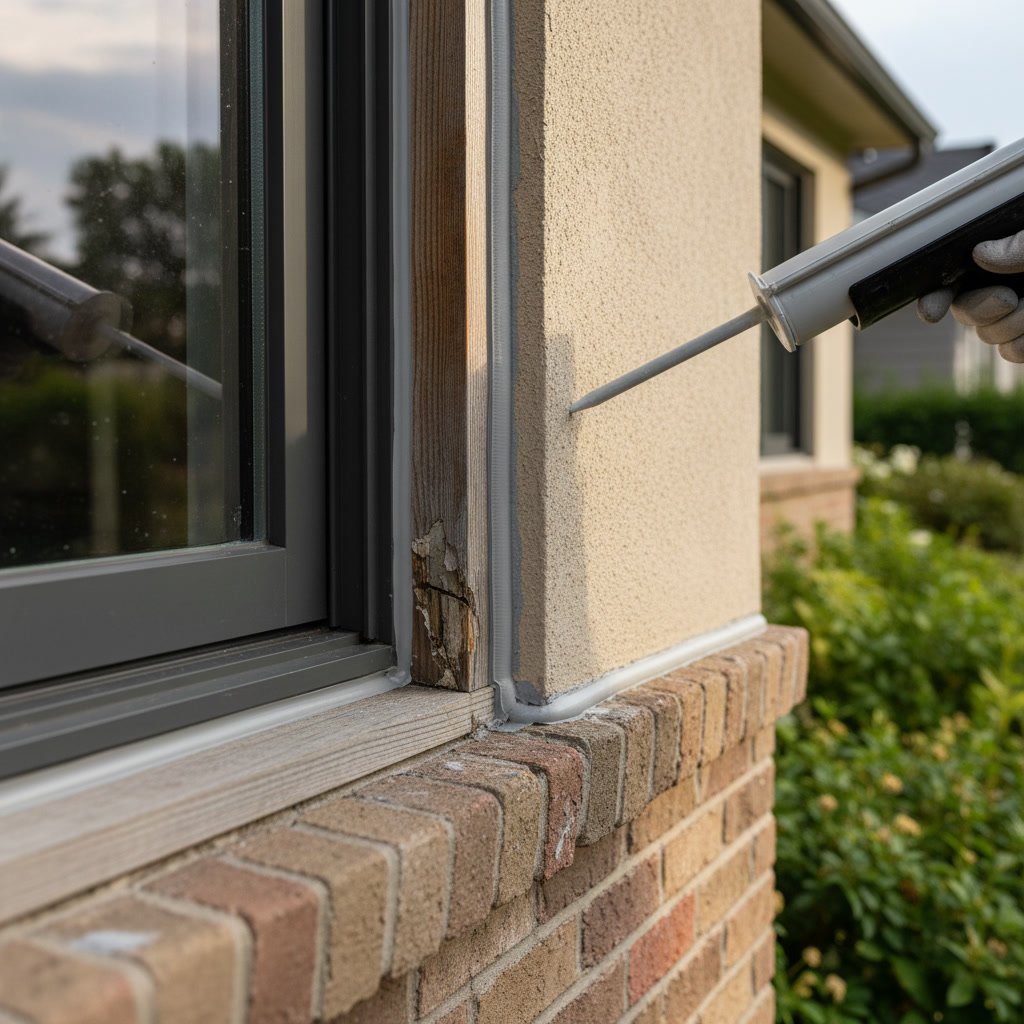
Brick restoration often uncovers problems that extend beyond the masonry itself. Damaged flashing around chimneys, inadequate caulking around windows and doors, and poor gutter drainage frequently contribute to brick deterioration. Addressing these issues during the restoration prevents recurring damage.
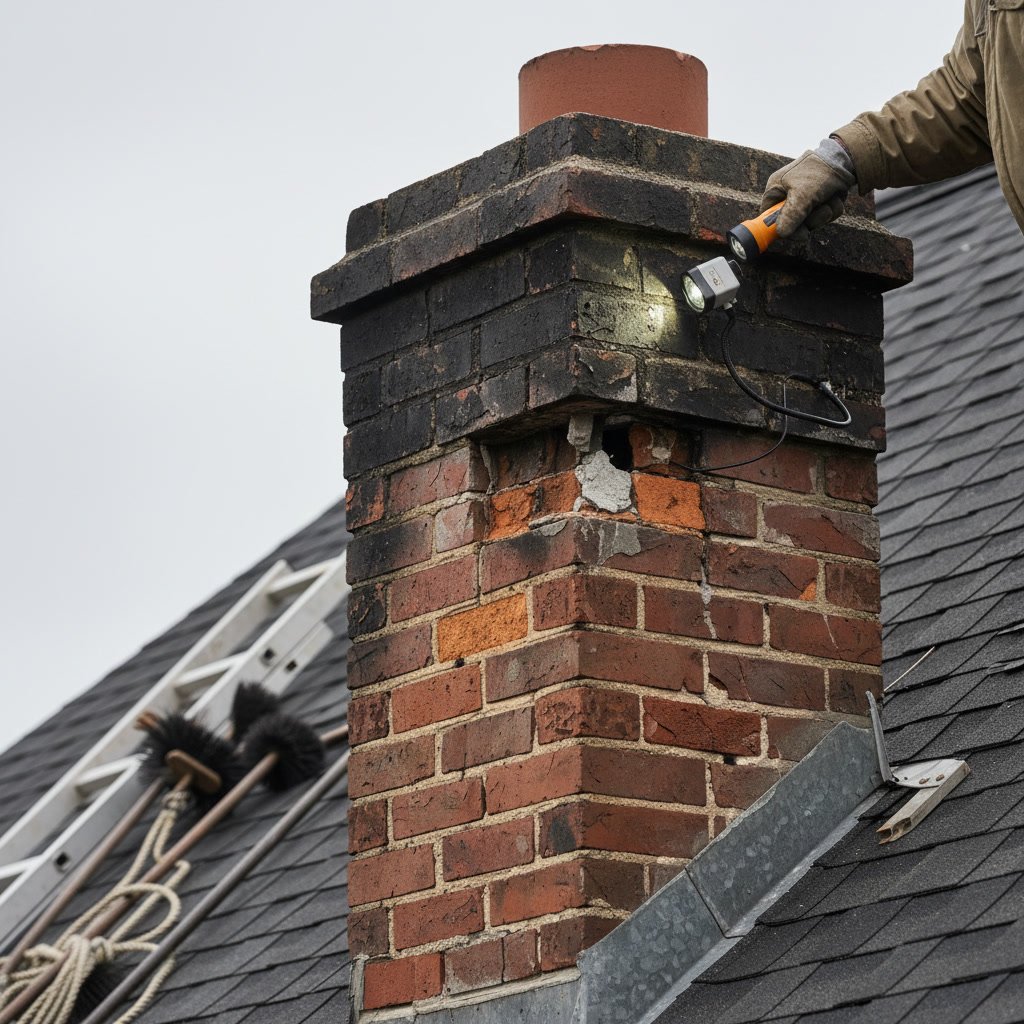
Chimney repairs are common companion projects. If mortar joints in the chimney are failing, the same freeze-thaw damage affecting the home’s exterior walls is likely present in the chimney as well. Homeowners dealing with chimney concerns can find detailed guidance in our article on when to repair or replace a chimney.
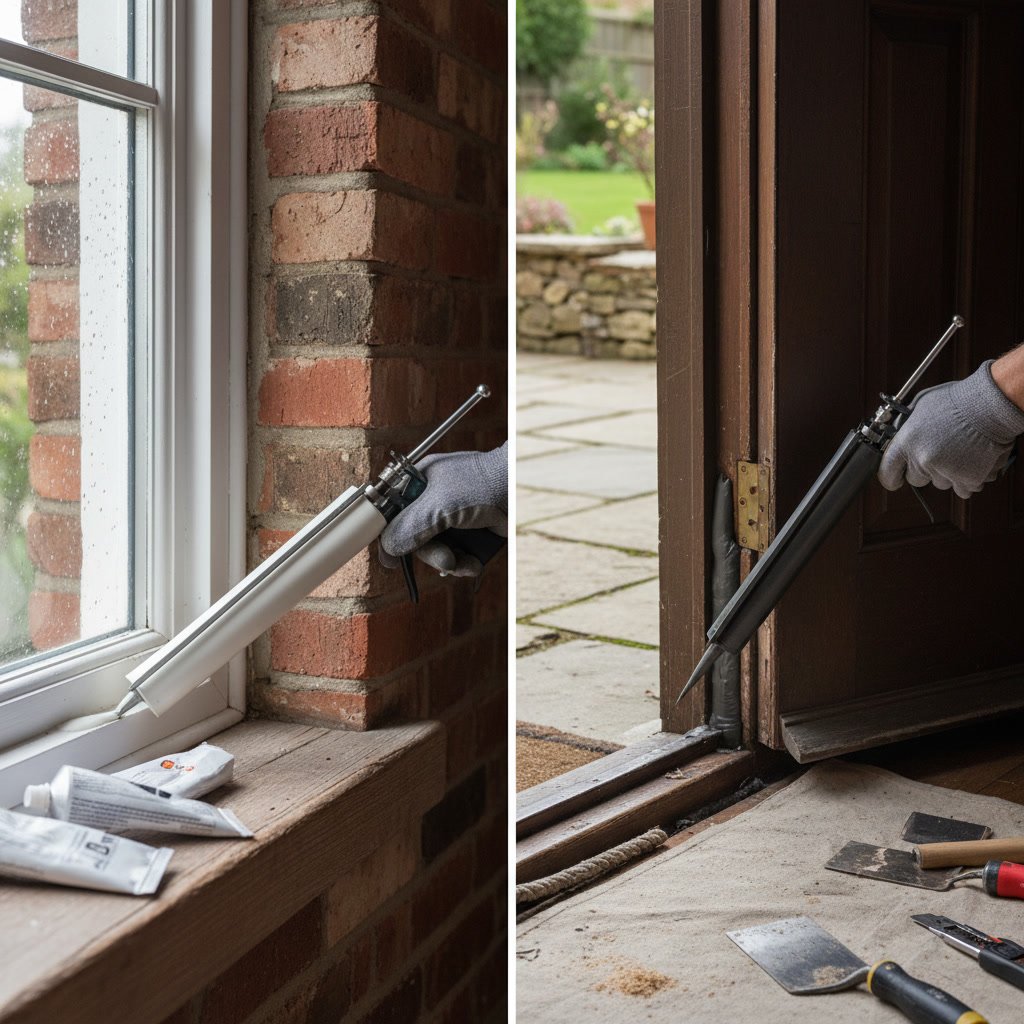
Window and door caulking should also be inspected and replaced if compromised. Gaps around openings allow water to reach the brick from behind, causing damage that is harder to detect and more expensive to repair.
What Homeowners Should Expect During the Work
Restoration work is noisy and dusty. Grinding out old mortar generates significant dust, even with containment measures in place. Homeowners should expect some disruption to daily routines, especially if the work involves areas near entryways or frequently used outdoor spaces.
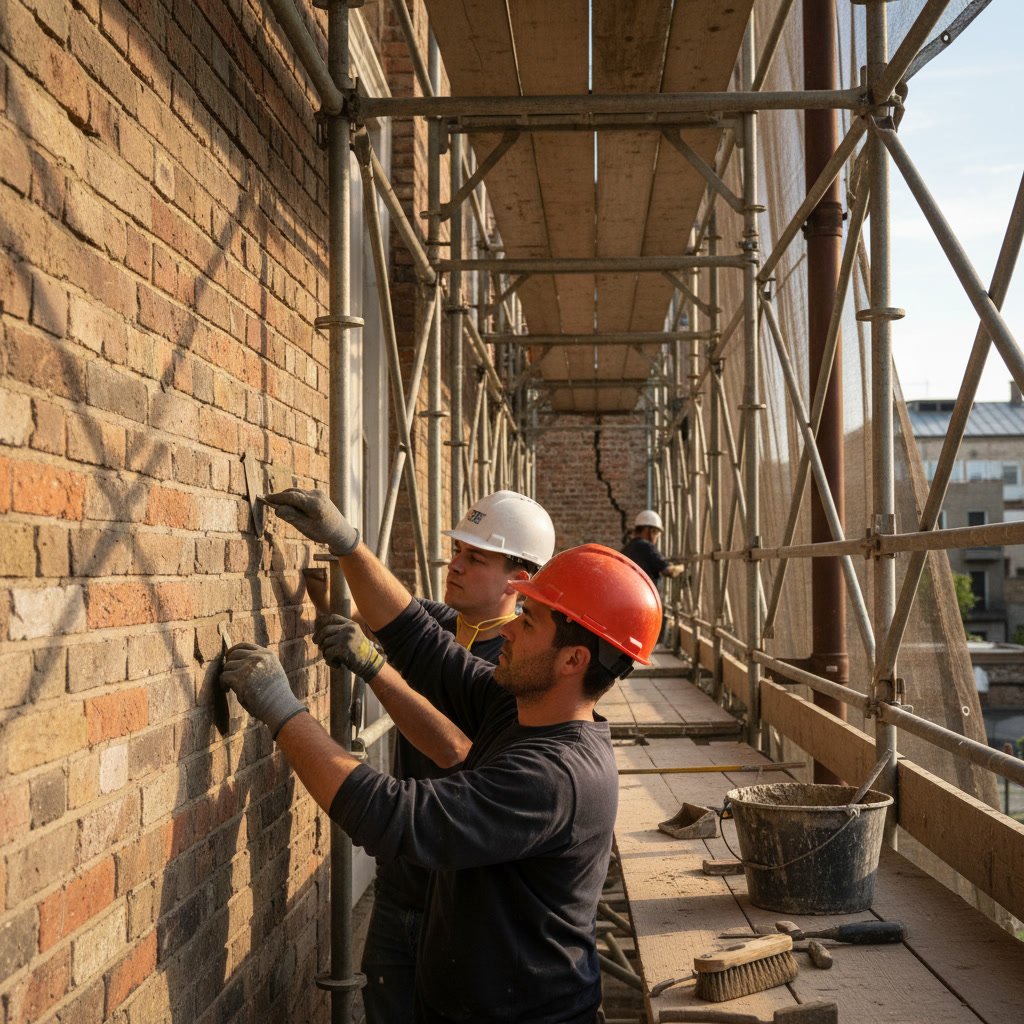
Access to the work area is essential. Crews need to set up scaffolding or ladders, move equipment, and have clear pathways for material delivery. Pets should be kept indoors or away from the work zone for their safety. Clear communication with the contractor about scheduling, access needs, and any concerns helps the project proceed smoothly.
Quality contractors perform daily cleanup and remove debris regularly. At the end of each day, the site should be safe and reasonably tidy. Final cleanup includes removing all equipment, disposing of waste materials, and restoring landscaping or hardscaping that was temporarily moved.
Long-Term Maintenance After Restoration
Restored brickwork requires periodic maintenance to extend its lifespan. Annual inspections help catch small issues before they become major problems. Look for new cracks, gaps in mortar joints, or signs of water infiltration such as staining or efflorescence.
Reapplying sealer every five to ten years, depending on the product and exposure, maintains protection against moisture. Keeping gutters clean and ensuring proper drainage away from the foundation reduces stress on the masonry. Trimming vegetation away from brick walls prevents moisture retention and organic growth.
Homes in areas like Webster Groves and Chesterfield face similar climate challenges, and proactive maintenance pays off in the long run. Small repairs handled promptly cost far less than waiting until extensive restoration is needed.
Protecting Your Investment With Professional Restoration
Brick restoration is an investment in your home’s longevity and value. Properly executed work stops deterioration, prevents water damage to interior spaces, and restores the aesthetic appeal that makes brick homes desirable. Cutting corners or delaying necessary repairs only leads to higher costs and more extensive damage.
Choosing an experienced contractor ensures the work is done right the first time. Massey Tuckpointing & Masonry has served the greater St. Louis area since 2002, continuing a family tradition of quality craftsmanship and attention to detail. Whether your home needs minor repointing or comprehensive restoration, professional assessment and skilled execution make all the difference.
If you notice cracked mortar, spalling bricks, or water stains on your masonry, don’t wait for the damage to worsen. Reach out to discuss your project and schedule an inspection by calling +13142009488. Protecting your home starts with understanding the process and working with a team that treats every project with the care it deserves.