Before you schedule a professional inspection, you can identify many common chimney problems yourself with a careful visual check. To inspect chimney damage effectively, start from the ground using binoculars, then move to accessible areas like the attic and fireplace opening. Understanding what to look for helps you catch issues early, prevent water damage, and communicate more clearly with masonry professionals when repairs become necessary.
Why Regular Chimney Checks Matter for Your Home
Your chimney endures constant stress from weather, temperature swings, and combustion byproducts. Rain, snow, and freeze-thaw cycles break down mortar joints, while the heat from fires causes expansion and contraction that weakens the structure over time. Most chimney damage starts small but accelerates rapidly once moisture penetrates the masonry.
Catching problems early can mean the difference between a simple mortar repair and a complete chimney rebuild. A small crack in the crown might cost a few hundred dollars to fix, but if left unchecked, it can let water seep into the brick, leading to spalling that requires extensive restoration costing thousands. Regular visual checks between professional inspections give you a head start on maintenance.
The Right Time and Conditions for Your Inspection
Spring and fall offer the best conditions for chimney checks. In spring, you can assess winter damage from ice and snow. Fall inspections prepare your chimney for the heating season and reveal any deterioration that occurred during summer storms.
Choose a dry day with good light. Recent rain actually helps because wet spots on the chimney exterior often indicate cracks or failed mortar that allow water penetration. Inspect in the morning or late afternoon when angled sunlight makes cracks and uneven surfaces more visible. Avoid windy days when using a ladder, and never attempt roof access if you’re uncomfortable with heights.
Starting Your Inspection from the Ground in Affton
Begin at least 20 feet away from your home with a good pair of binoculars. This distance gives you a full view of the chimney structure without craning your neck. Look at the overall alignment first. A chimney that leans or tilts indicates serious foundation or structural issues that require immediate professional attention.
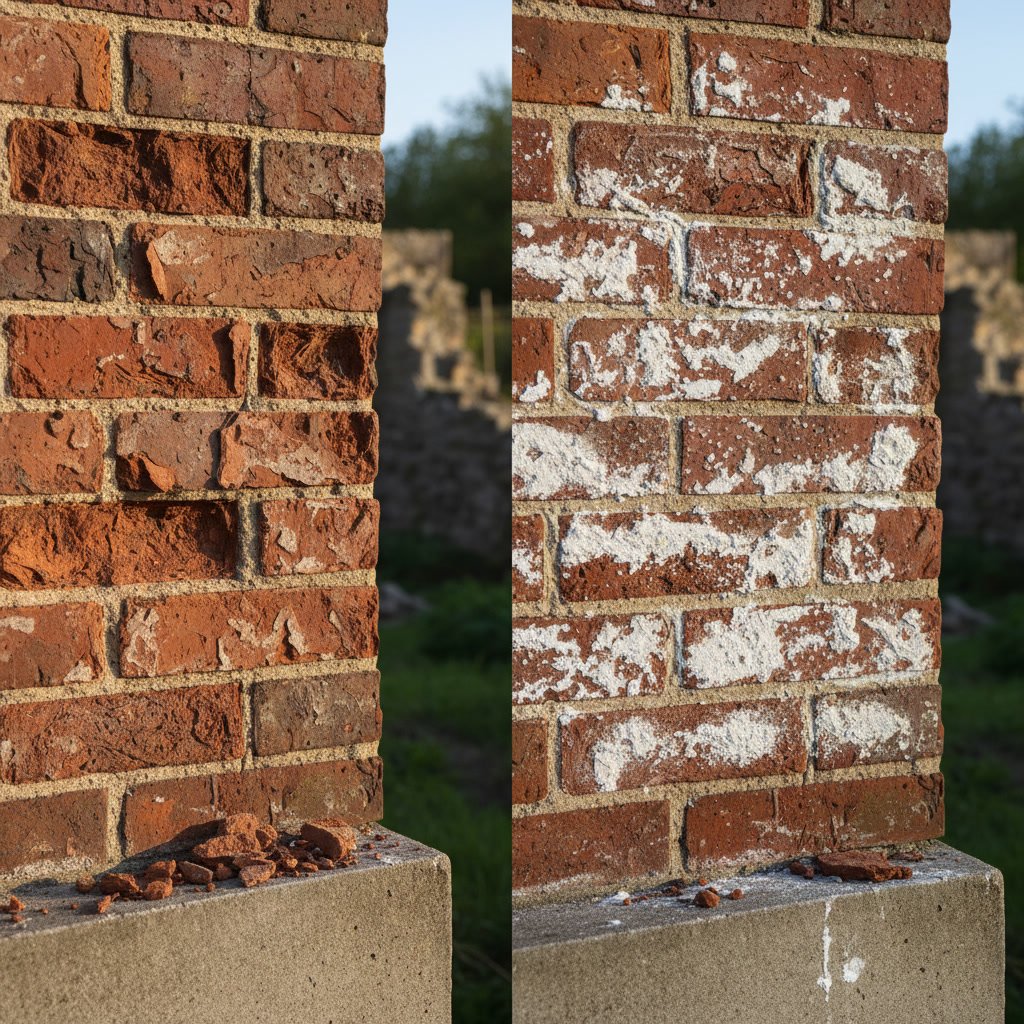
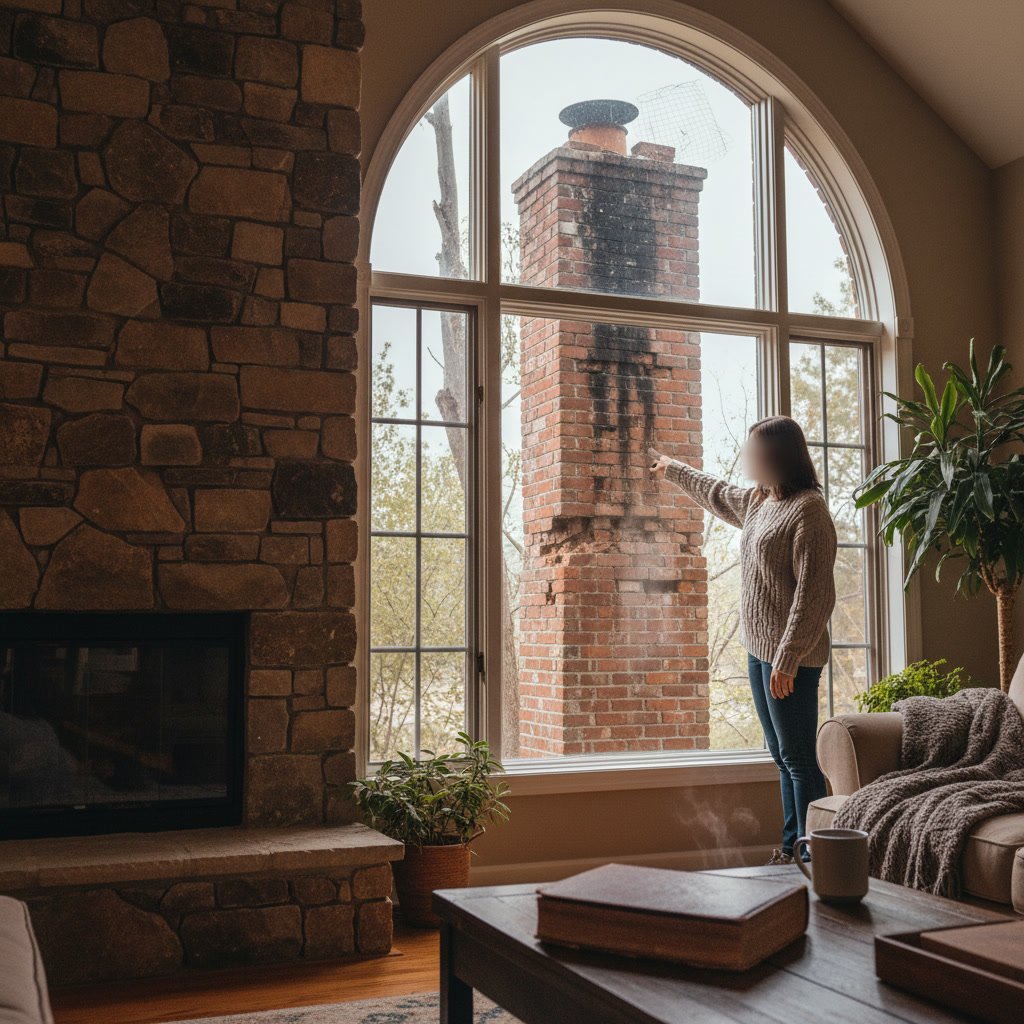
Scan the entire visible surface for dark stains, white deposits, or areas where the brick color looks different. These discolorations often signal water intrusion or efflorescence, a mineral deposit left when water evaporates from the masonry. Check the roofline where the chimney meets the shingles. Gaps, lifted flashing, or rust stains point to failed waterproofing that lets rain into your home.
What to Look for on the Chimney Exterior
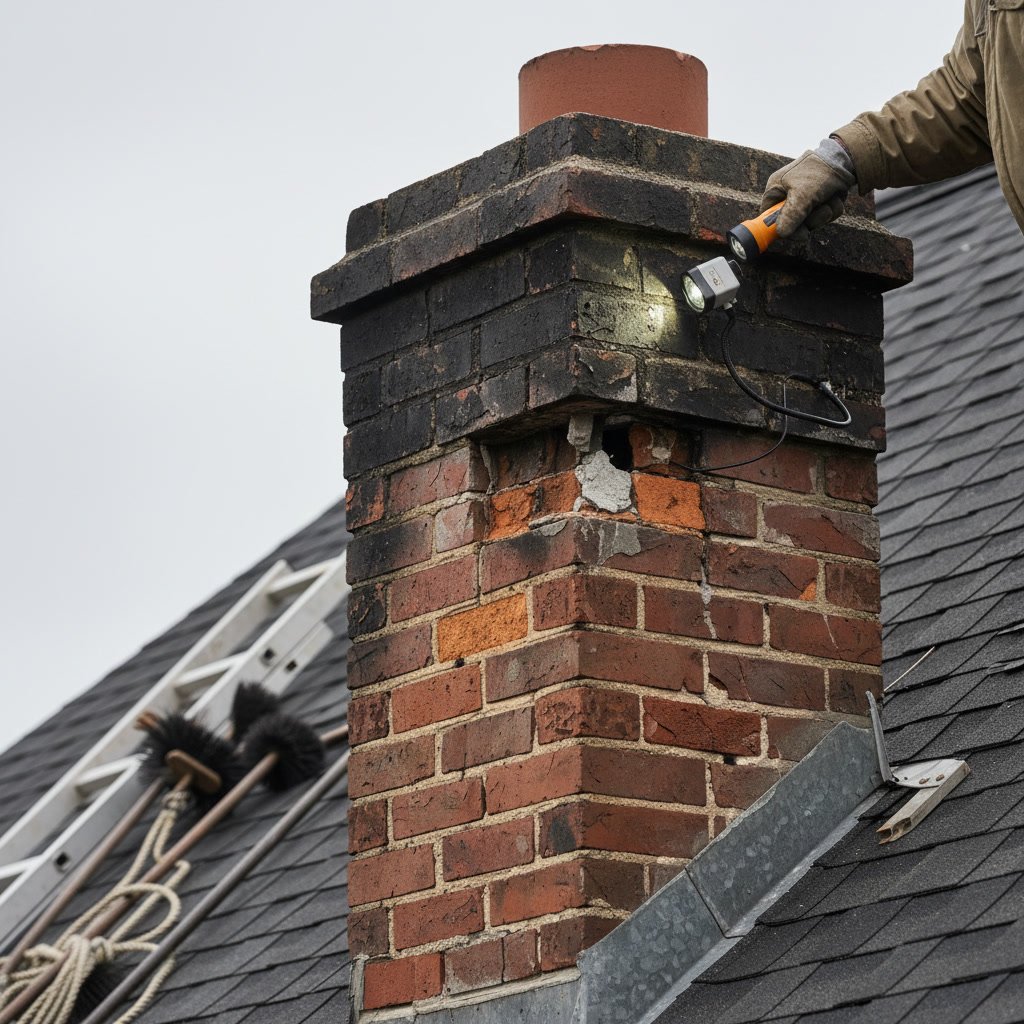
The chimney crown sits at the very top and acts as the first line of defense against water. Look for cracks wider than a sixteenth of an inch, missing chunks, or areas where the crown has separated from the flue tiles. A damaged crown allows water to run down between the flue and the outer masonry, causing hidden deterioration inside the chimney structure.
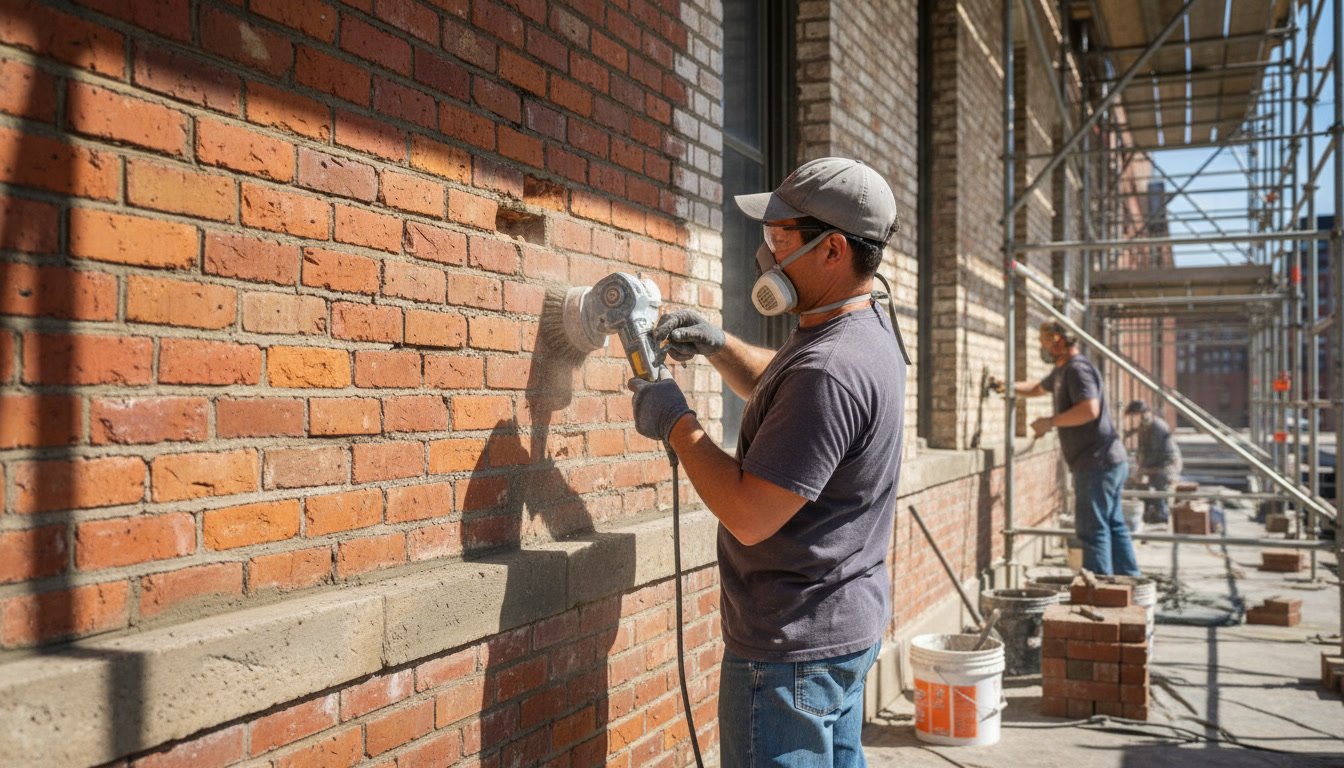
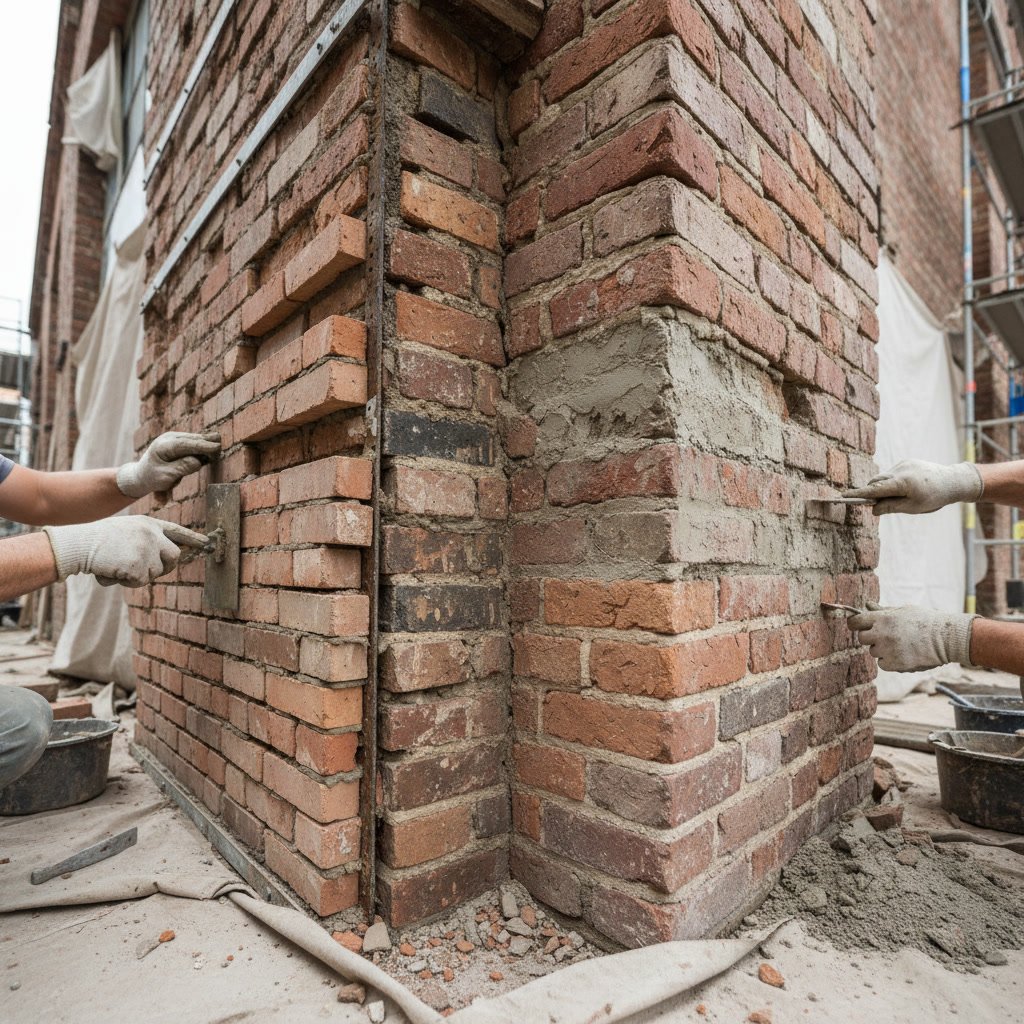
Examine the mortar joints between bricks. Healthy mortar should be firm and recessed slightly from the brick face. Watch for joints that look powdery, crumbling, or missing entirely. When mortar deteriorates more than a quarter inch deep, it’s time to consider tuckpointing to restore the structural integrity.
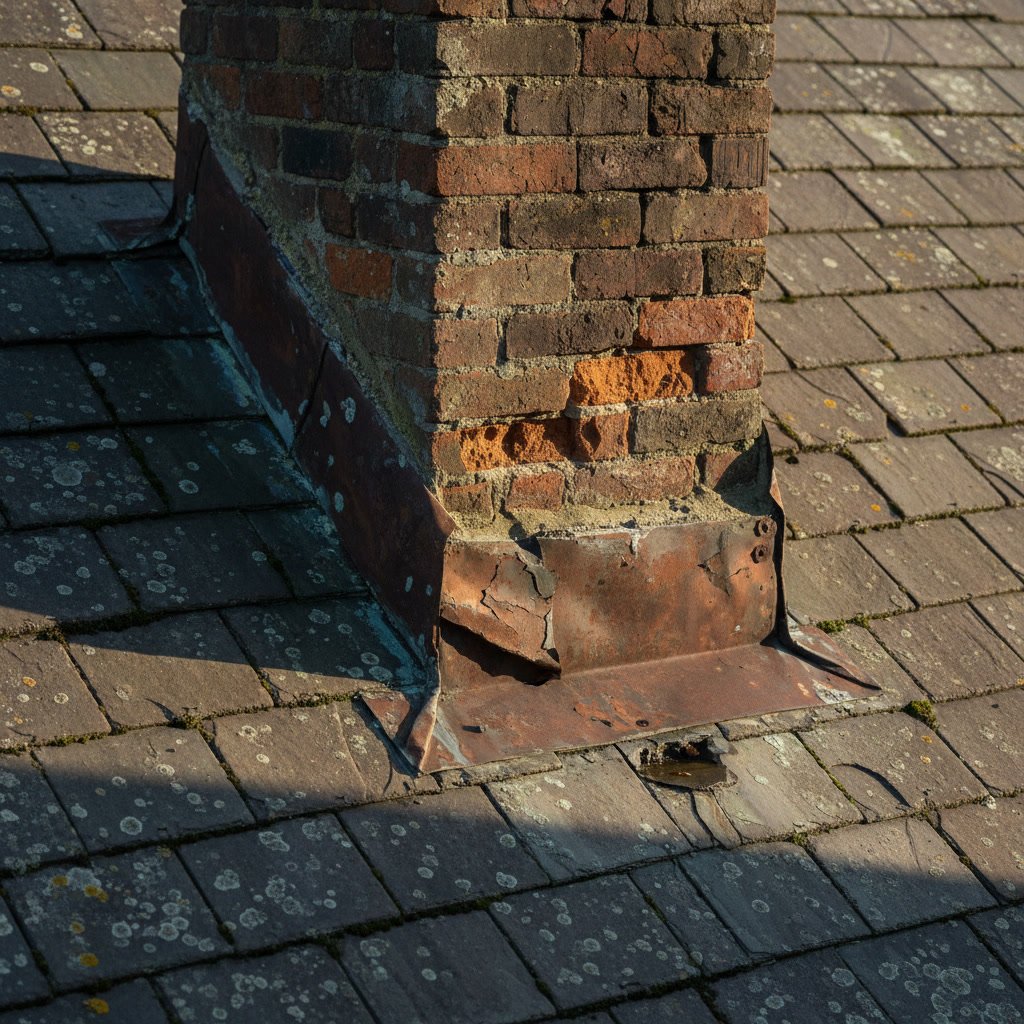
Check individual bricks for spalling, where the face of the brick flakes or pops off in layers. This happens when water gets inside the brick, freezes, and expands. Spalling typically starts on the north-facing side or wherever water sits longest. If you see more than a few spalled bricks, the problem will spread quickly without intervention.
Checking the Chimney Cap and Flashing
The chimney cap covers the flue opening and keeps rain, animals, and debris out. Look for rust holes, bent screens, or missing sections. A cap that’s come loose will rattle in the wind and eventually blow off completely. Without a cap, water pours directly down the flue, damaging the damper, firebox, and even your home’s interior.
Flashing is the metal seal between the chimney and roof. It should lie flat against both surfaces with no gaps or lifted edges. Rust streaks, holes, or separated sections mean water is getting through. Failed flashing is one of the most common sources of roof leaks that homeowners mistakenly attribute to shingle problems. Proper weatherproofing around the chimney base prevents costly water damage to ceilings and walls.
Interior Signs You Can Spot from Inside Your Home
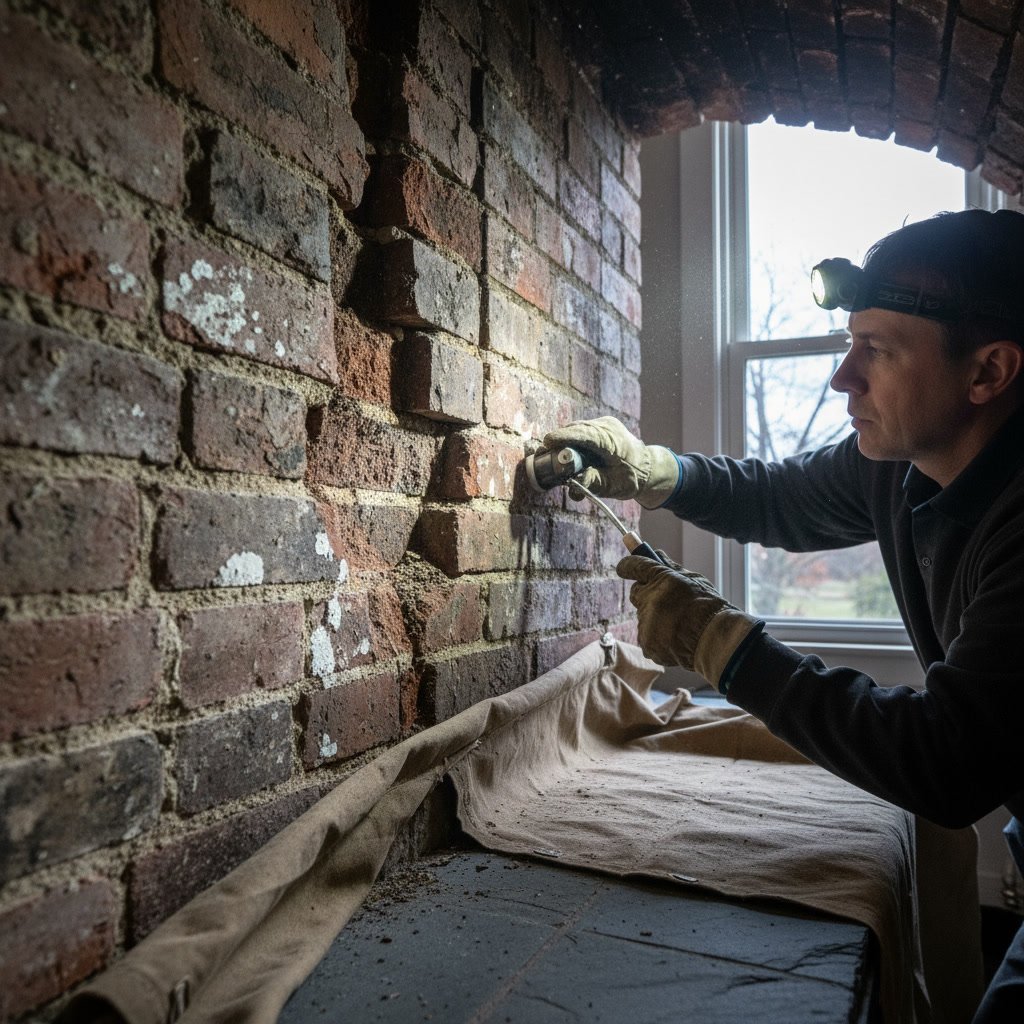
Move inside to the fireplace opening and shine a bright flashlight up the flue. You’re looking for daylight, which should only be visible at the very top. If you see light coming through the sides, the flue liner is cracked or separated. Damaged flue liners pose serious safety risks because they allow heat and combustion gases to reach combustible materials in your walls.
Check the firebox walls and floor for cracks, missing mortar, or loose bricks. Run your hand along the damper to feel for warping or rust. A damper that won’t close completely wastes energy year-round. Look at the surrounding wall and ceiling for water stains, peeling paint, or white mineral deposits that indicate moisture problems traveling down from above.
Attic and Basement Clues About Chimney Condition
If your chimney passes through an attic, inspect where it penetrates the roof from below. Look for water stains on the wood framing around the chimney or on the chimney masonry itself. Feel the masonry surface. It should be dry and cool. Damp spots or a musty smell indicate active leaks.
Check the clearance between the chimney and any wood framing. Building codes typically require at least two inches of space. If you see charred or darkened wood near the chimney, the flue liner may be cracked, allowing dangerous heat transfer. This situation requires immediate professional evaluation.
In the basement, examine the chimney foundation and the lowest visible sections of masonry. Cracks in the foundation, tilting, or separation from the house structure point to settling issues that affect the entire chimney. White powder on the surface indicates moisture wicking through the masonry, which will worsen with seasonal freeze-thaw cycles. Understanding when to replace or repair your chimney depends partly on the extent of foundation and structural problems you discover.
Five Critical Warning Signs That Demand Immediate Attention
Some damage requires professional assessment right away. A chimney that leans more than a few degrees off vertical indicates foundation failure or severe structural damage that could lead to collapse. Visible daylight through the flue liner from inside the firebox means combustion gases can escape into your home, creating carbon monoxide risks.
Large sections of missing mortar, especially near the top third of the chimney, compromise the entire structure’s stability. Heavy spalling across multiple bricks signals that water has saturated the masonry and will only get worse. Finally, any sign of chimney fire damage like cracked or melted flue tiles, warped metal components, or puffy creosote deposits means the chimney must be inspected and likely repaired before you burn another fire.
Professional chimney services include video inspection equipment that reveals problems invisible from ground level or the fireplace opening. Certified technicians can assess flue liner condition, measure draft performance, and identify hidden deterioration in the chimney’s interior structure.
Safety Limits for Homeowner Inspections
You can accomplish a thorough visual inspection without ever climbing onto your roof. Using quality binoculars from the ground and checking accessible interior areas gives you enough information to identify most common problems. If you’re comfortable on a ladder, you can get a closer look at lower sections, but stay at least three feet below the roofline.
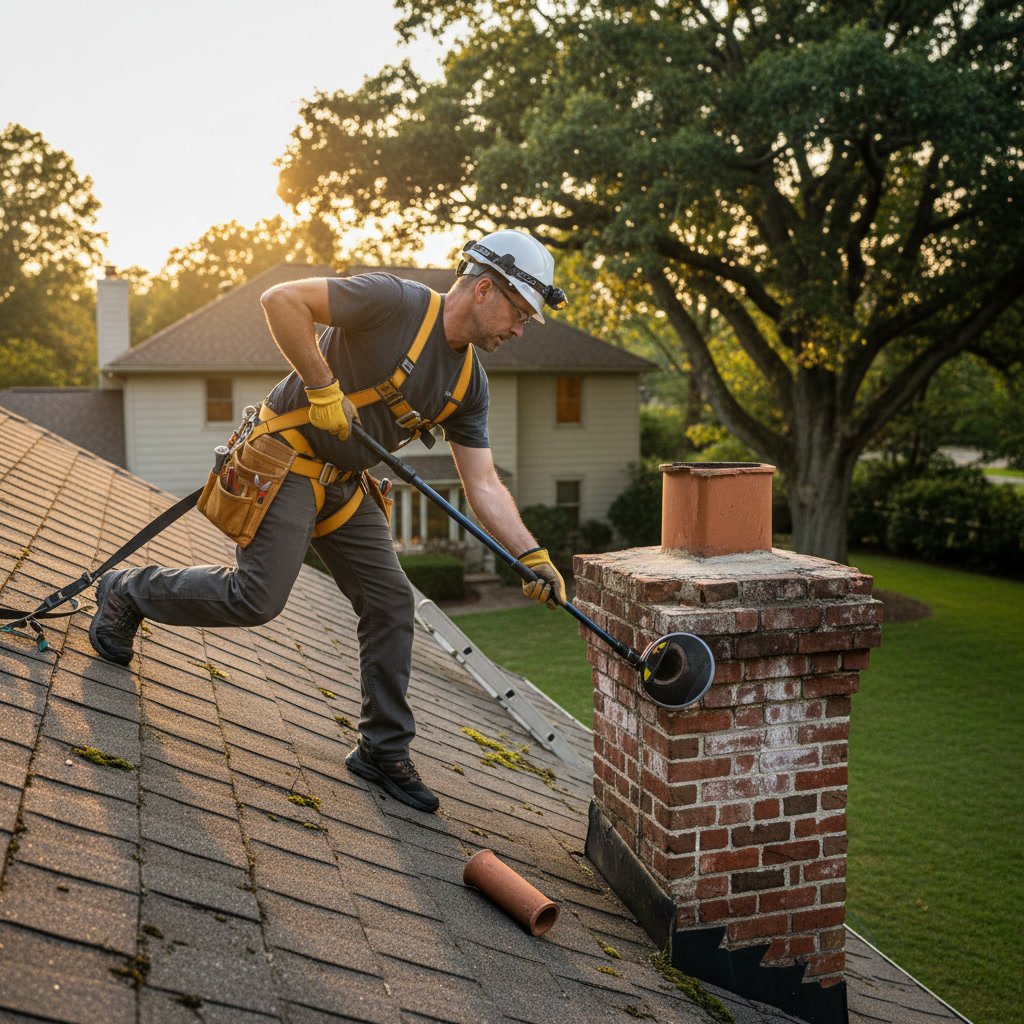
Never walk on a roof if you lack proper safety equipment and experience. Roofs are slippery, especially near chimneys where moss and algae often grow. Falls cause serious injuries every year among homeowners attempting DIY inspections. Professional masons have the training, insurance, and equipment to work safely at heights. One expert-level insight: experienced inspectors always check the chimney’s interior offset and corbelling from the attic, because these architectural features create hidden shelves where creosote accumulates and water damage hides, invisible from both the fireplace and rooftop.
Documenting What You Find
Take clear photos of any damage you spot, even minor issues. Capture wide shots showing the overall chimney and close-ups of specific problems. Date your photos and keep them in a folder. This documentation helps you track whether damage is progressing and gives professionals useful information when you request estimates.
Write brief notes describing what you see and where each problem is located. Note the compass direction of affected areas, since north and west faces typically deteriorate faster due to weather patterns. If you’re calling multiple contractors for quotes, these records ensure you describe the same issues to each one, making it easier to compare their responses and proposed solutions.
Protecting Your Chimney Between Professional Services
Your ground-level inspection reveals problems, but it doesn’t replace professional evaluation. The National Fire Protection Association recommends annual chimney inspections by certified professionals, especially for chimneys serving wood-burning appliances. Between professional visits, your visual checks help you catch new damage early.
Small issues you identify now can often be addressed before they become emergencies. Massey Tuckpointing & Masonry has served Greater St. Louis homeowners since 2002, combining military-grade attention to detail with family-business care. Whether you’ve spotted minor mortar deterioration or more serious structural concerns, early professional assessment protects both your home’s value and your family’s safety.
If your inspection revealed damage that needs expert attention, reaching out to experienced masonry professionals ensures accurate diagnosis and quality repairs. Call +13142009488 to schedule a thorough chimney evaluation and receive a detailed estimate for any necessary restoration work.