A professional driveway sealing process transforms a weathered, vulnerable surface into a protected, long-lasting feature of your home. The service includes inspection, deep cleaning, crack repair, sealant application, and proper curing time to ensure your driveway withstands years of traffic and weather. Understanding each step helps homeowners know what to expect and why hiring experienced professionals delivers results that DIY approaches cannot match.
Why Proper Surface Preparation Matters More Than the Sealant Itself
Most homeowners assume the quality of the sealant determines the outcome, but surface preparation actually plays the larger role. A driveway covered in dirt, oil stains, or loose debris will reject even the best sealant, leading to premature peeling and failure. Professional contractors spend the majority of their time preparing the surface because they understand that sealant only bonds to clean, sound material.
The preparation stage reveals hidden problems that could compromise the entire project. Hairline cracks, small potholes, and areas of settling often go unnoticed until a technician inspects the surface closely. Addressing these issues before sealing prevents them from expanding and breaking through the new protective layer within months.
How Weather Conditions Affect Your Service Timeline
Temperature and humidity dictate when professionals can safely seal your driveway. Most sealants require temperatures between 50 and 90 degrees Fahrenheit and no rain in the forecast for at least 24 hours after application. Early morning dew or high humidity can prevent proper adhesion, so experienced contractors schedule work during optimal weather windows.
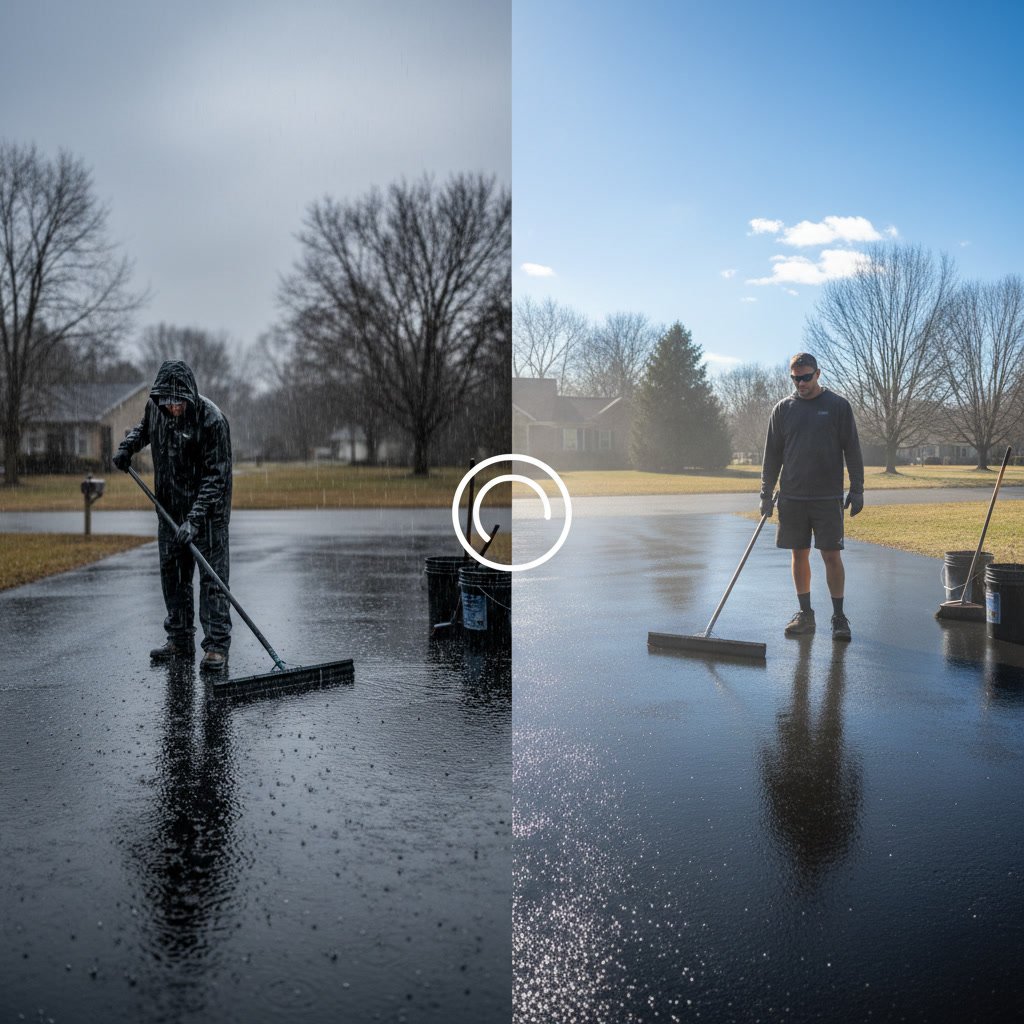
In the St. Louis area, spring and fall offer the most consistent conditions for sealing work. Summer heat can cause sealant to dry too quickly, creating an uneven finish, while winter temperatures prevent proper curing. A reputable provider will reschedule rather than rush a job in poor conditions, even if it means delaying your project by a few days.
The Initial Inspection and Assessment Phase
Every professional service begins with a detailed inspection of your driveway’s current condition. The technician examines the surface for cracks, oil stains, previous sealant layers, drainage issues, and structural concerns. This assessment determines which cleaning methods to use, what repairs are necessary, and which type of sealant will perform best on your specific surface.
During this phase, the contractor measures the square footage to calculate material needs and identifies any areas requiring special attention. Low spots where water pools, expansion joints that need filling, and edges showing erosion all get noted. This thorough evaluation prevents surprises mid-project and ensures the crew arrives with the right equipment and materials.
Step-by-Step Deep Cleaning and Surface Preparation
The cleaning process removes everything that could interfere with sealant adhesion. Here’s how professionals tackle this critical stage:
- Sweep away loose debris, leaves, and dirt using industrial brooms and blowers
- Apply degreasing agents to oil stains and allow them to break down petroleum residue for 15 to 20 minutes
- Pressure wash the entire surface at 3,000 PSI or higher, focusing extra attention on stained areas
- Scrub stubborn stains with specialized brushes and cleaners designed for asphalt or concrete
- Remove vegetation growing in cracks or along edges
- Allow the surface to dry completely, typically 24 to 48 hours depending on weather conditions
Professional crews understand that rushing the drying phase undermines everything that follows. Moisture trapped beneath sealant creates bubbles, weak spots, and areas that will fail during the first freeze-thaw cycle. Contractors often use moisture meters to verify the surface is ready rather than relying on visual inspection alone.
Crack Filling and Minor Repair Work in Affton
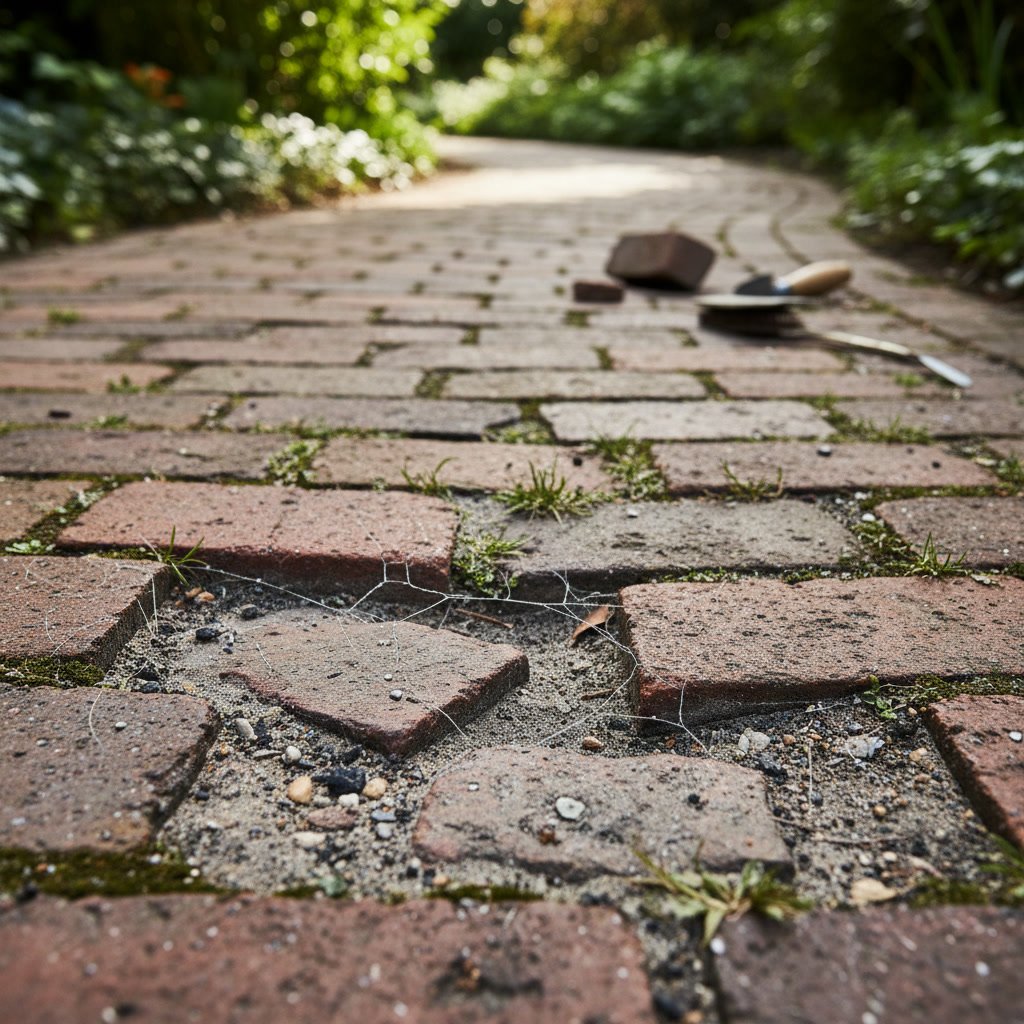
Once the surface is clean and dry, technicians address structural issues. Cracks wider than a quarter inch receive hot rubberized crack filler that flexes with temperature changes instead of breaking. Smaller cracks may get filled during the sealing process itself, depending on their depth and location.
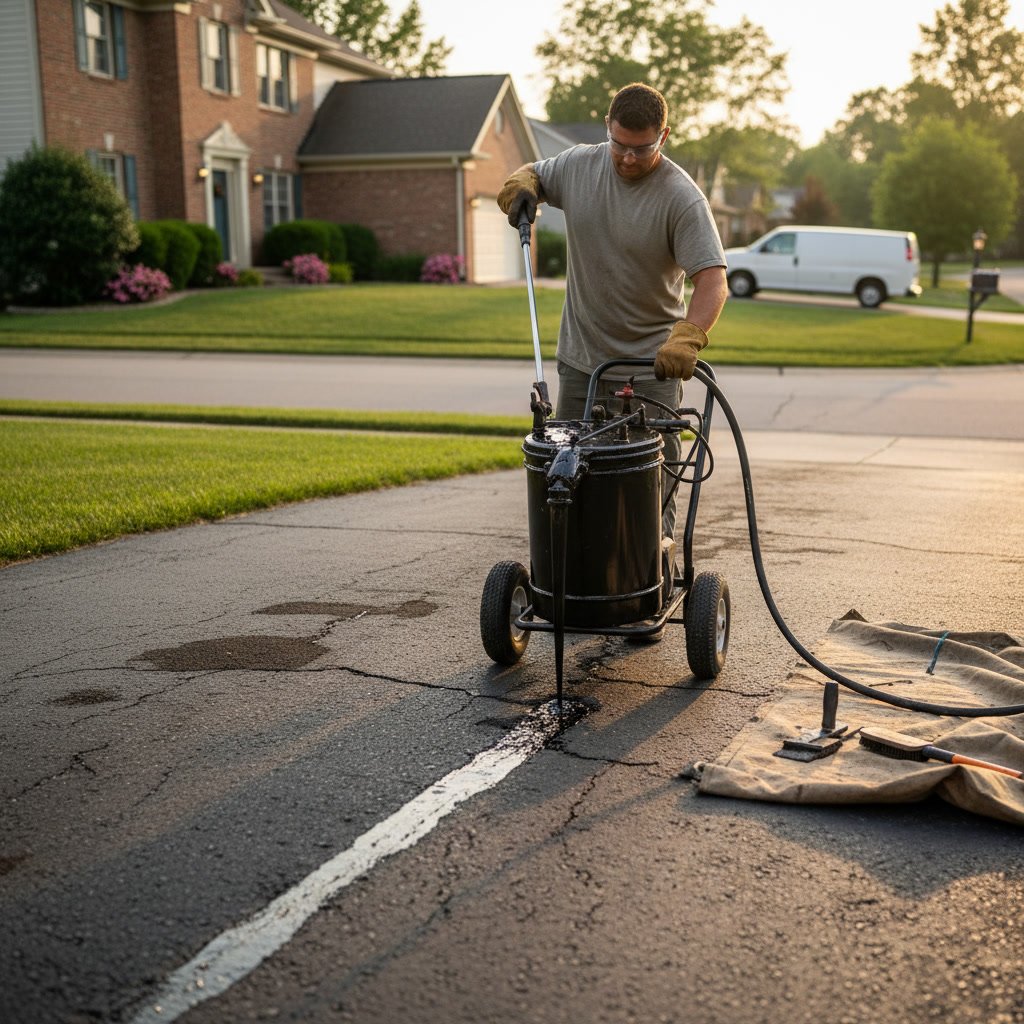
Potholes and depressions require patching with fresh asphalt or concrete, compacted and leveled to match the surrounding surface. These repairs need time to cure before sealant application, sometimes adding an extra day to the project timeline. Skipping this step is the single biggest mistake DIY sealers make, as cosmetic sealant over structural damage only hides problems temporarily.
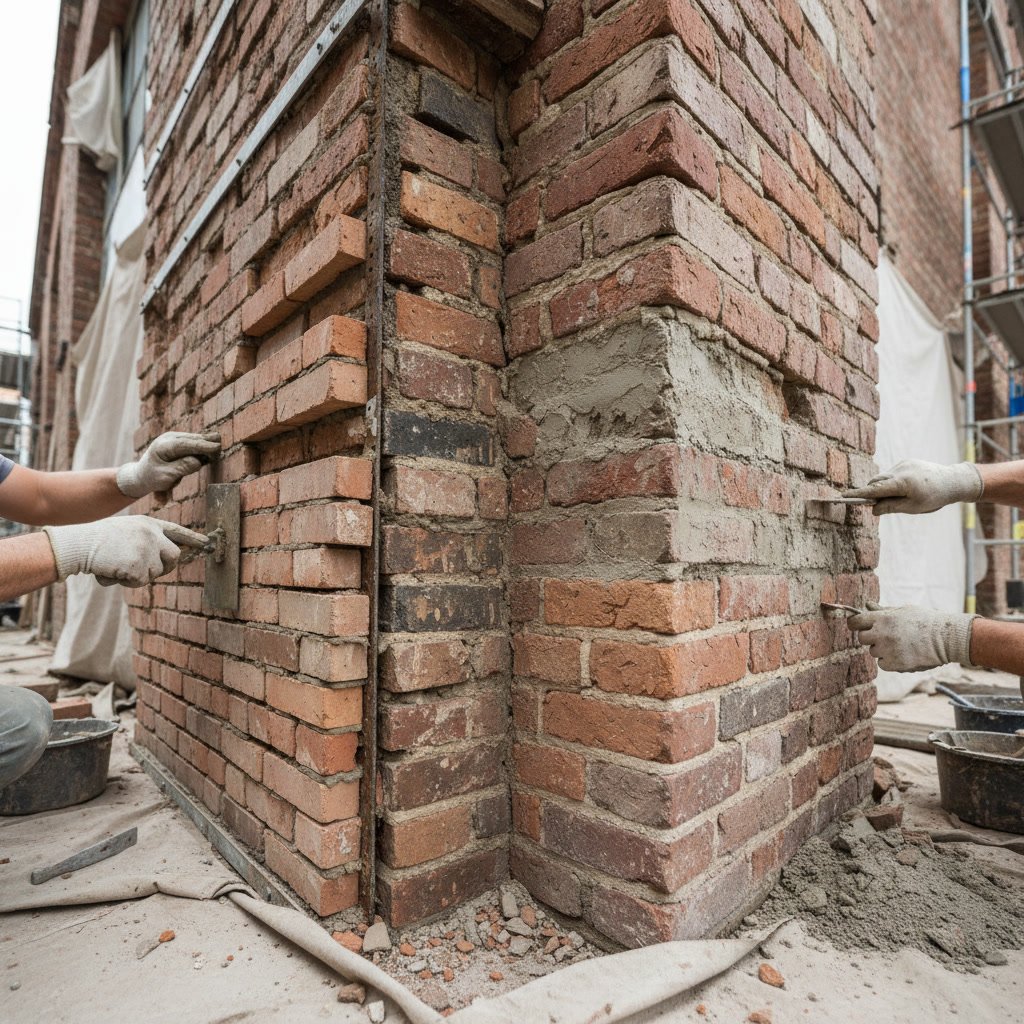
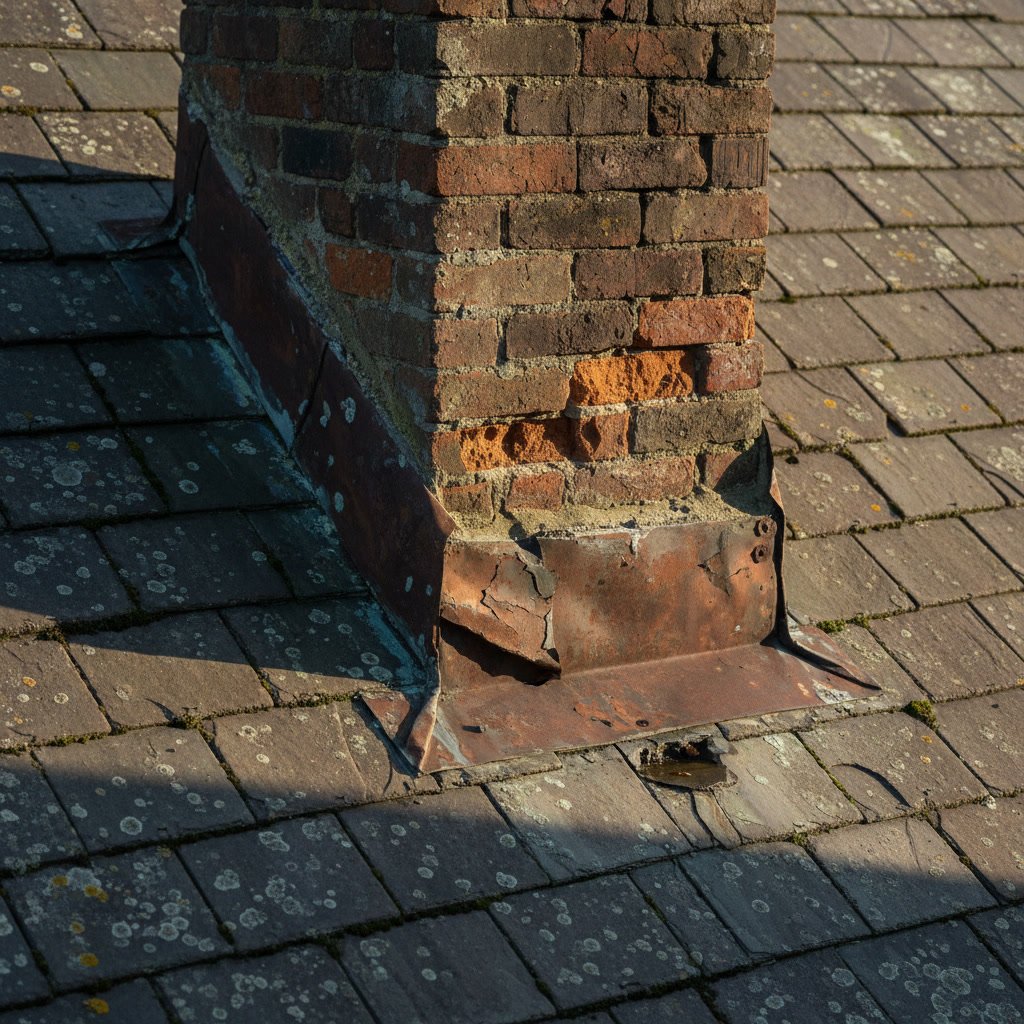
The approach to repairs varies between asphalt and concrete driveways. Asphalt surfaces benefit from hot-pour crack filler that bonds chemically with the existing material. Concrete driveways often need polyurethane or silicone-based fillers that accommodate the material’s different expansion properties. Similar attention to surface preparation appears in masonry restoration projects, where proper preparation determines long-term success.
Application Techniques That Ensure Even Coverage
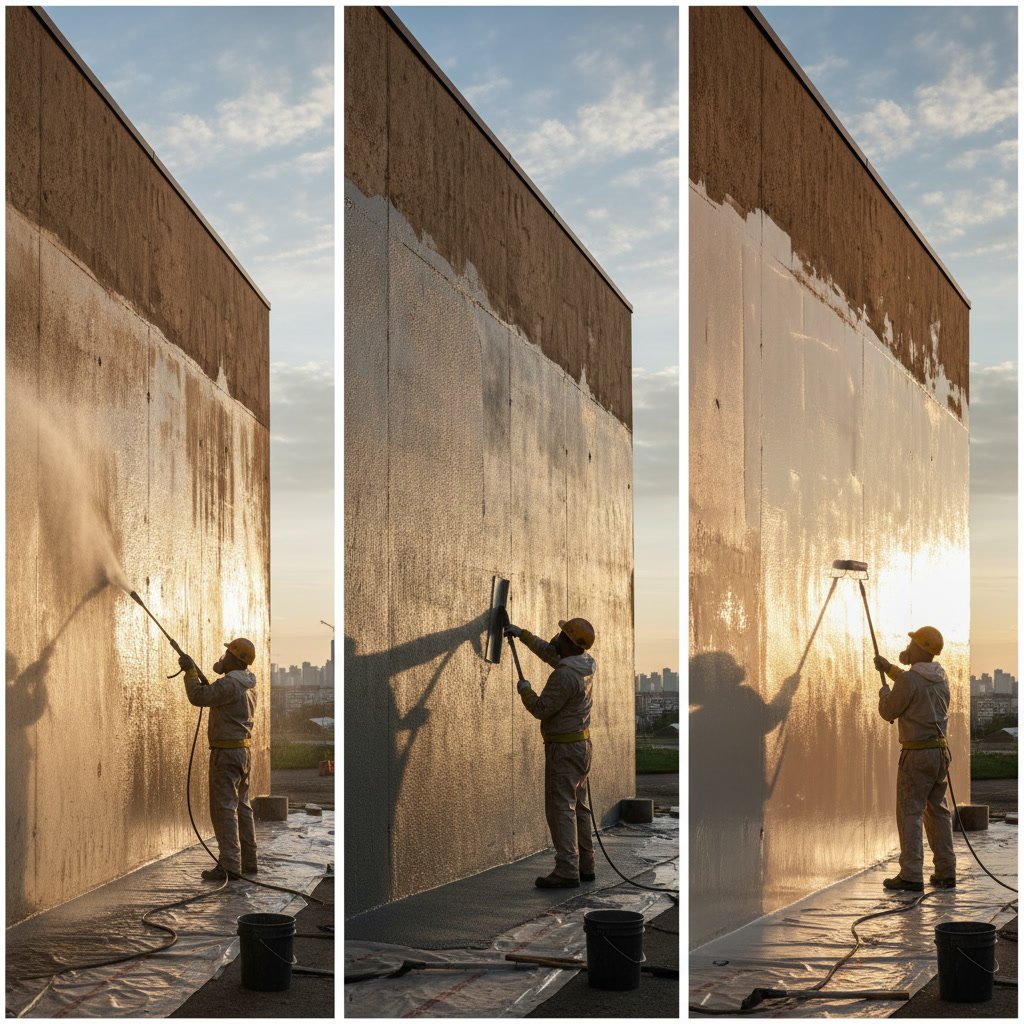
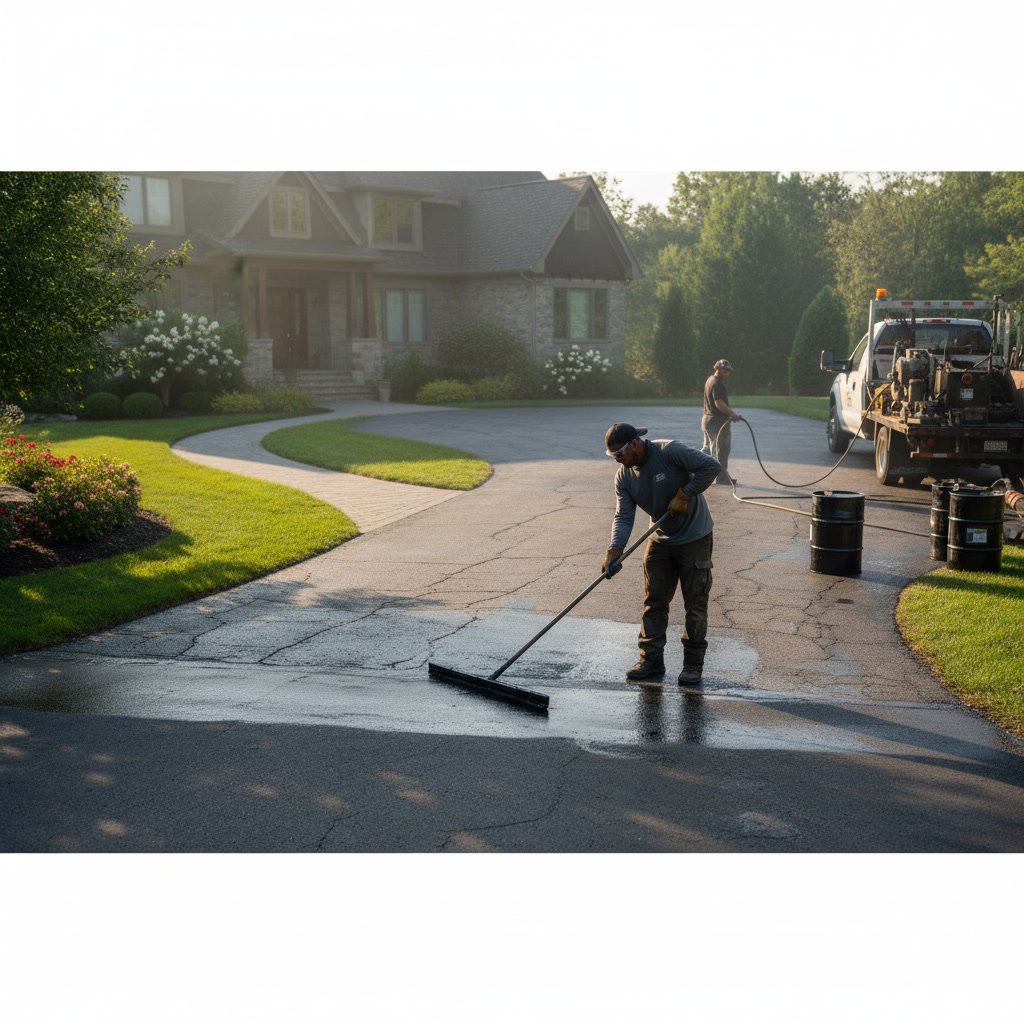
Professional applicators use squeegees, brushes, or spray equipment depending on the sealant type and driveway size. Squeegee application works best for asphalt driveways, allowing the contractor to push material into small cracks while creating an even film across the surface. Two thin coats outperform one thick coat because they dry more uniformly and penetrate better.
The first coat typically looks uneven and shows brush strokes, which is normal. This initial layer seals the porous surface and provides a foundation for the second coat. After the first coat dries to the touch, usually within four to eight hours, the crew applies the second coat in the opposite direction. This cross-hatching technique ensures complete coverage and a uniform appearance.
Spray application covers large commercial driveways faster but requires more skill to avoid overspray and achieve consistent thickness. Experienced crews adjust spray patterns and walking speed to maintain the manufacturer’s recommended mil thickness, typically 15 to 20 mils per coat for asphalt sealers.
Edge Work and Detail Finishing
The edges where your driveway meets grass, flower beds, or sidewalks require special attention. Professionals use smaller brushes to create clean lines and prevent sealant from spilling onto adjacent surfaces. Careful edge work makes the difference between a professional appearance and a sloppy finish.
Garage door thresholds, expansion joints, and transitions between different surfaces also get detailed finishing. Some contractors apply masking tape to protect garage floors and sidewalks, while others rely on steady hands and years of experience. Either way, this detail work takes time but dramatically improves the final result.
Curing Time and Traffic Restrictions
Freshly sealed driveways need protection while the sealant cures. Most products allow foot traffic after 24 hours but require 48 to 72 hours before vehicles can use the surface safely. Temperature affects curing speed, with cooler weather extending the timeline and heat accelerating it.
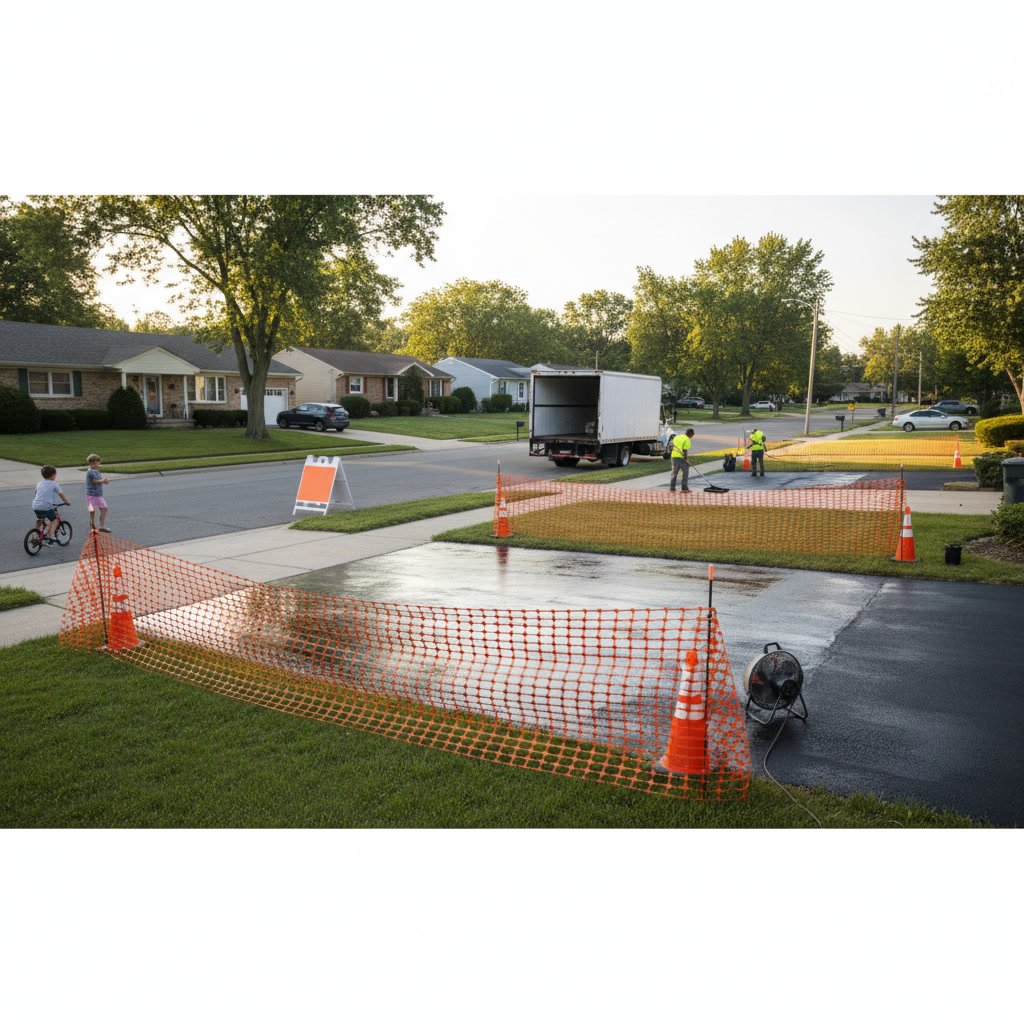
Professional contractors provide specific instructions about when you can park on the surface and what to avoid during the first few weeks. Sharp turns with the steering wheel, parking in the same spot repeatedly, and heavy loads can all leave permanent marks on freshly sealed asphalt. Concrete sealers cure harder and faster but still benefit from limited use during the first few days.
Property owners throughout St. Louis County often ask about accelerating cure times, but rushing this phase compromises durability. The sealant needs time to cross-link and harden fully, developing the chemical bonds that provide protection. Patience during curing pays dividends in longevity.
Quality Differences Between Premium and Economy Sealants
Not all sealants deliver the same protection or lifespan. Coal tar emulsion sealers offer superior resistance to gas and oil but face environmental restrictions in some areas. Asphalt emulsion products provide good protection with fewer regulatory concerns. Acrylic sealers work well on concrete and offer UV resistance that prevents fading.
Premium sealants contain higher percentages of solids, meaning more protective material and less water. A sealer with 60% solids outlasts one with 40% solids by a significant margin, even though the application looks identical. Professional contractors explain these differences and recommend products based on your driveway’s condition, usage patterns, and budget.
Sand additives improve traction on sloped driveways, preventing slippery conditions when the surface gets wet. Some products include rubber polymers that increase flexibility, helping the sealant move with the driveway during freeze-thaw cycles without cracking. These enhancements cost more but extend the time between resealing from three years to five or even six. The same principle of using quality materials applies to weatherproofing services throughout the home.
Long-Term Maintenance After Professional Sealing
A sealed driveway still requires regular maintenance to maximize its lifespan. Sweeping away debris prevents organic material from staining the surface or holding moisture against the sealant. Promptly cleaning oil drips and other automotive fluids prevents them from breaking down the protective layer.
Avoid using metal shovels during snow removal, as they scratch and gouge sealed surfaces. Plastic shovels or snow blowers protect your investment. Similarly, rock salt and harsh deicers can degrade sealant, so consider using sand or calcium chloride products designed for sealed surfaces.
Most professionally sealed driveways benefit from resealing every three to five years, depending on traffic volume and climate exposure. Visual indicators like fading color, visible aggregate showing through the surface, and water absorption rather than beading suggest it’s time for another application. Maintaining a regular sealing schedule costs far less than replacing deteriorated pavement.
Protecting Your Investment Through Expert Service
Professional driveway sealing extends the life of your pavement by years, prevents costly repairs, and maintains your property’s curb appeal. The process requires proper weather conditions, thorough preparation, quality materials, and experienced application techniques that DIY approaches rarely achieve. From initial inspection through final curing, each step builds on the previous one to create a protective barrier that withstands traffic, weather, and time.
Massey Tuckpointing & Masonry has served Greater St. Louis homeowners since 2002, bringing the same attention to detail to driveway and walkway sealing that we apply to all our masonry services. Our team ensures your driveway receives proper preparation, quality sealant, and the curing time needed for lasting results. Contact us at +13142009488 to schedule an inspection and receive a detailed estimate for protecting one of your property’s most visible features.